Tutorial
Ava Boudoir Set Maternity Hack
Hello all you lovely Ann-fans!
It’s my great honor to be able to show you my maternity hack from Ann’s latest design, the Ava Boudoir Set.
I’m so flattered and proud that I get the opportunity to write my very first blog for you about one of her designs.

I’m so flattered and proud that I get the opportunity to write my very first blog for you about one of her designs.
So just a little bit about me: I’m José Vernooy-Winkel, from the Netherlands, enthusiastic Designer Stitch roadie, and a 36-year-old mother of one-going-on-two.
I’m married to the most wonderful hub who really does not have anything in common with my hobbies, but lets me do as I please…;)
In my daily life I’m a Graphic Designer, by night I’m a lazy and adventurous seamstress!
I’m married to the most wonderful hub who really does not have anything in common with my hobbies, but lets me do as I please…;)
In my daily life I’m a Graphic Designer, by night I’m a lazy and adventurous seamstress!
So when the news of the newest pattern set for Designer Stitch came apparent, the Ava Boudoir Set, I was so bummed that I wouldn’t be able to do the set because of my bump!
But I wouldn’t be me if I didn’t see some other possibilities to have my own Ava Boudoir Set, but fitted to my baby-bump.
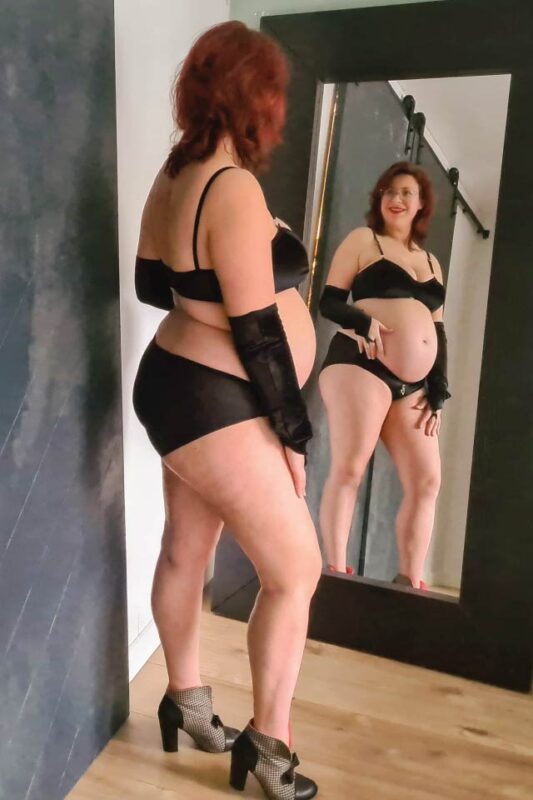
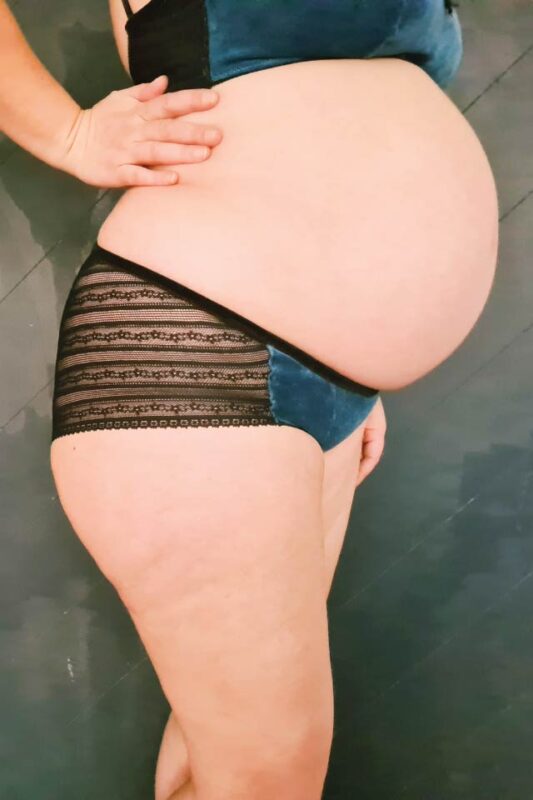
And yes, I’m not afraid to admit that it is quite a huge step to be in my undies on these pics…;) So please be kind!
During these photo’s I’m 25 weeks pregnant, so I’m quite midway to growing in my bump…;)
But I wouldn’t be me if I didn’t see some other possibilities to have my own Ava Boudoir Set, but fitted to my baby-bump.
And yes, I’m not afraid to admit that it is quite a huge step to be in my undies on these pics…;) So please be kind!
During these photo’s I’m 25 weeks pregnant, so I’m quite midway to growing in my bump…;)
I’ll walk you through my adjustments to this set, because I’m positive there are so many moms-to-be who need something like this Ava Boudoir Set in their life, and also while being pregnant!
Just hack it to YOUR preferences, I promise it’s quite doable for an little advanced sewist!
Just hack it to YOUR preferences, I promise it’s quite doable for an little advanced sewist!
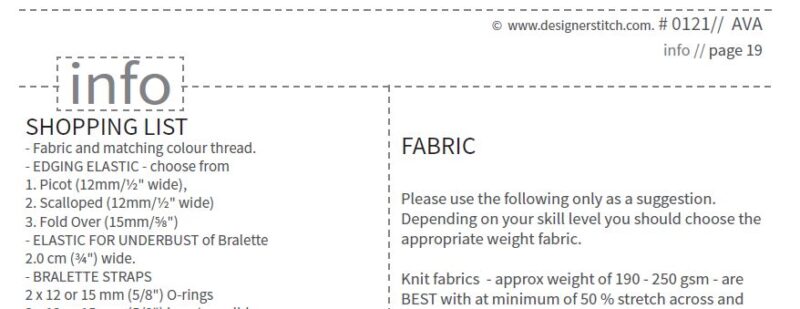
Start by getting together your materials according to the supply list. You’ll need a little less fabric in height, but the same in width as listed.
Elastics you’ll need a little bit more, about 10 inch/25 cm for the “waist” elastic extra should suffice.
Elastics you’ll need a little bit more, about 10 inch/25 cm for the “waist” elastic extra should suffice.
For the bralette I swapped out the O-rings for nursing clips, you’ll still need the sliders though!
Nursing Hack-Bralette:
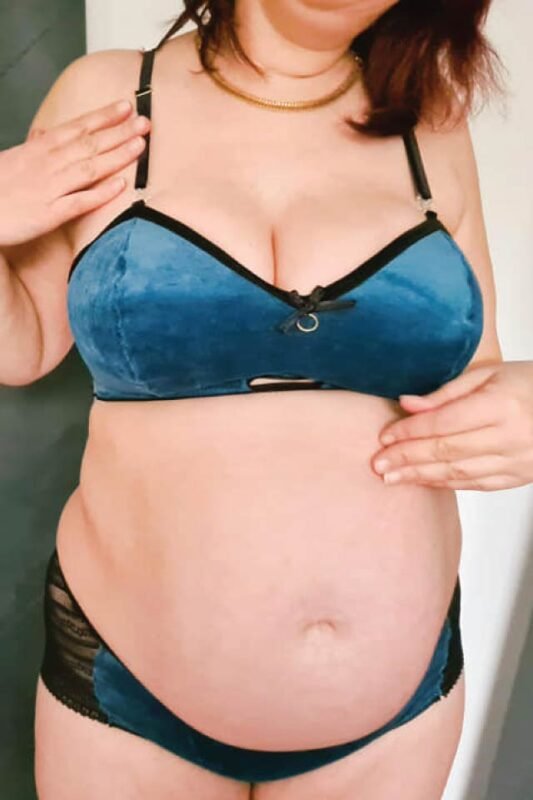
For the Bralette I attached instead of the O-rings in front the nursing clips.
The hook-part of the nursing clips will be attached to the top strap. The eye-part of the nursing clip will be attached to the cup part.
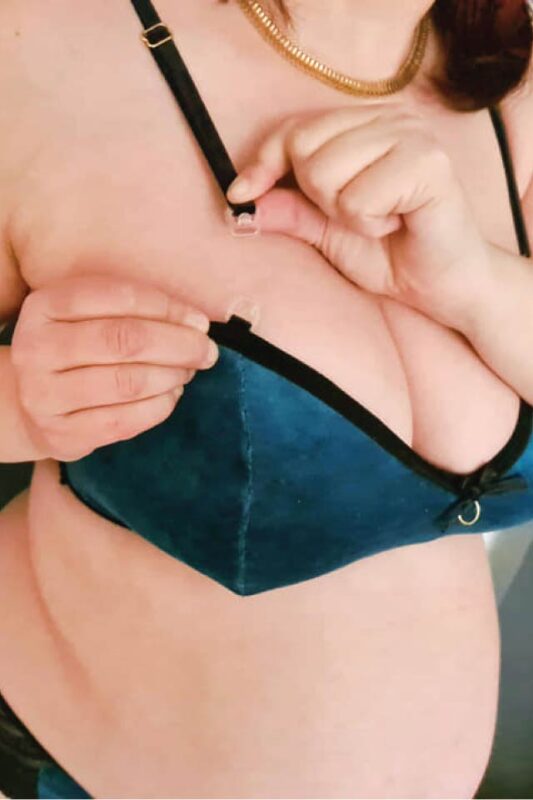
The hook-part of the nursing clips will be attached to the top strap. The eye-part of the nursing clip will be attached to the cup part.
I did not adjust for growth of the boobs, because in my experience there won’t be so much growth left, and the bralette is quite a bit more forgiving than a wired bra is.
Maternity Hack Knickers:

Pick your size by measuring your hip circumference. You can’t pick your waist size as a base since, well my waistline hasn’t been in sight for a looonnggg time hahaha.
I’m guessing that will be your case too since were hacking for the baby bump.
I’m guessing that will be your case too since were hacking for the baby bump.
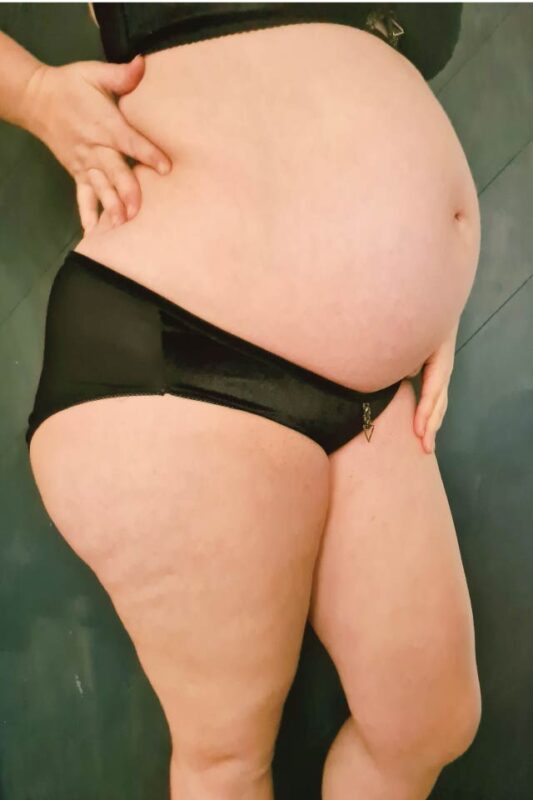
The knickers will be adjusted to go UNDER the bump since I can’t stand the additional stretch going over the bump.
Since the waistline is GONE (it will be back I’m keeping myself reminded), the desired heights need to be calculated from bottom up, or rather crotch up.
Since the waistline is GONE (it will be back I’m keeping myself reminded), the desired heights need to be calculated from bottom up, or rather crotch up.
Other measurements to grab while you’re at it:
– CF desired height- measure from crotch (where inner leg seams on pants intersect) up till where your belly creases under the bump.
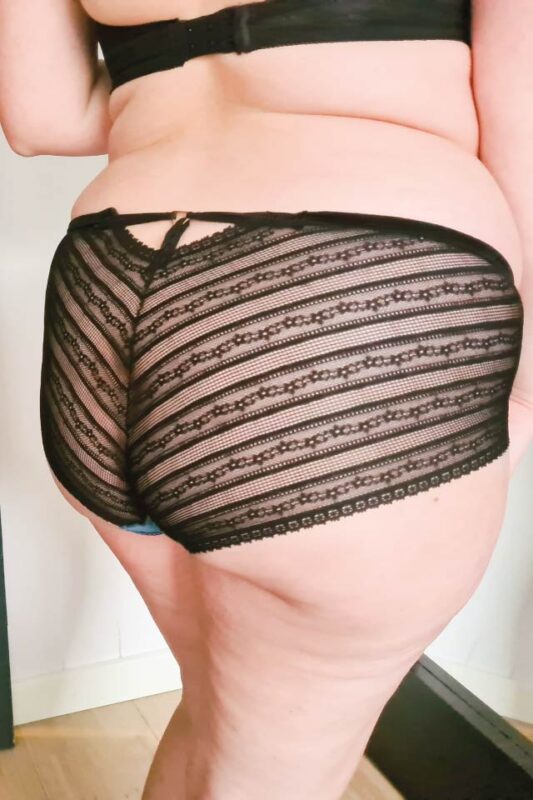
– CB desired height -> measure from crotch/inner leg seams intersection till where you’d like the back to stop. I measured about 2 inch/5 cm upwards of the butt crack/gluteal cleft (what would your prefer Ann?? – (Ann says) – ” I AM GOOD for anything my love…(:>…..)
– Side desired height. Measure this from the crease where your upper leg goes to your hip bone, along the side seam till where it feels comfortable. Keep the top edge lower than your CB height or it’ll roll down your hips while wearing.
My measurements:
– Picked size 6 for hip circumference.
– Desired CF: 20 cm
– CB desired: 36 cm
– Side: 9 cm
Next SUBSTRACT the length already covered by the crotch piece, this is the same length/number in ALL sizes, so you can calculate with this:
– Substract 2 inch/5 CM for the CF length
– Substract 4 inch/ 10 CM for the CB length
I have calculated the seam allowances in these measurements.
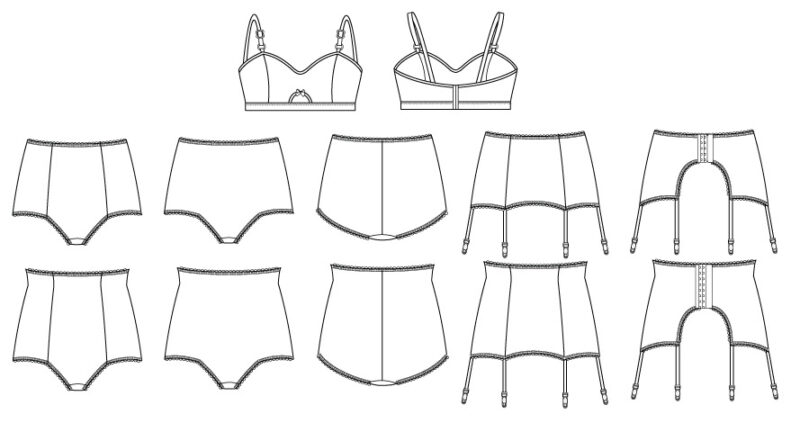
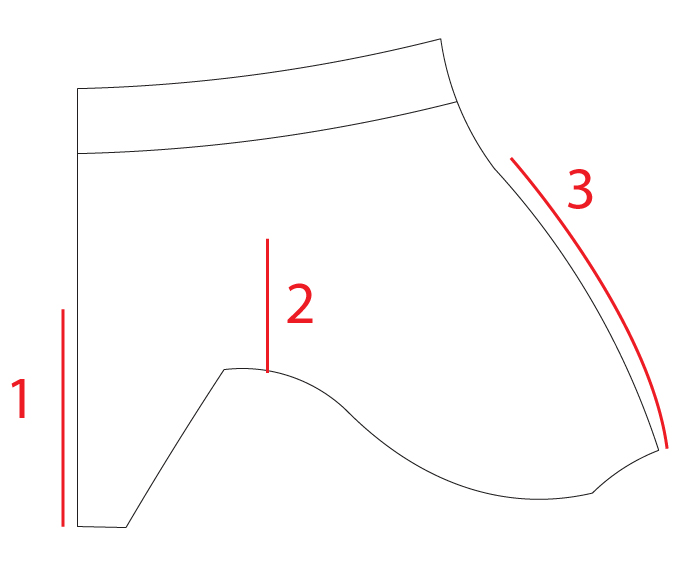
To adjust the pattern pieces as you need it, you’ll take pattern piece 1 (or both pieces 2 and 3 for the color blocked option) like this:
Take your CF length (substracted the crocth length) and draw a marking at the desired height. Above image this is Line 1.
Repeat at the CB line. Above image this is Line 3.
Repeat at the CB line. Above image this is Line 3.
The side seam is a little farther to the back than the point in the leg opening line. Where the curve turns downwards again is your imaginary side seam, draw the desired height upward from the leg cut line. Above image this is Line 2.
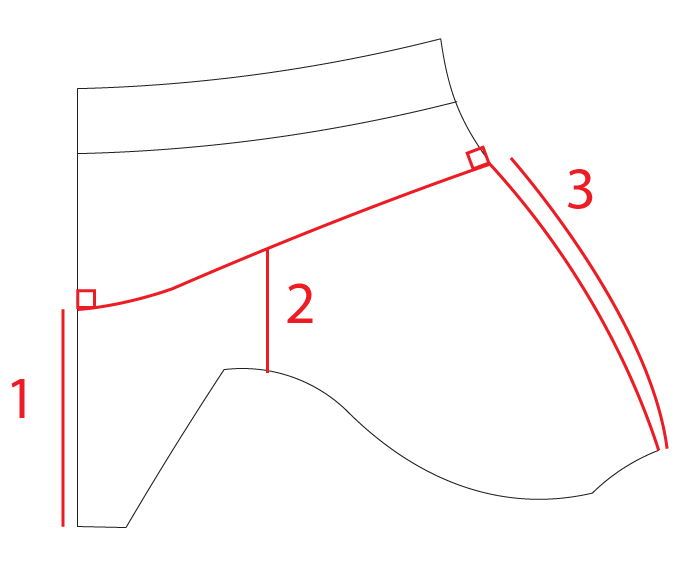
Draw in new upper waistline line – through these 3 markings -make it fluent. Make sure to have the line at CF fully horizontal (squared off), or you end up with an angled CF.
Also ensure the CB is squared off from thee back crotch cut line.

Also ensure the CB is squared off from thee back crotch cut line.
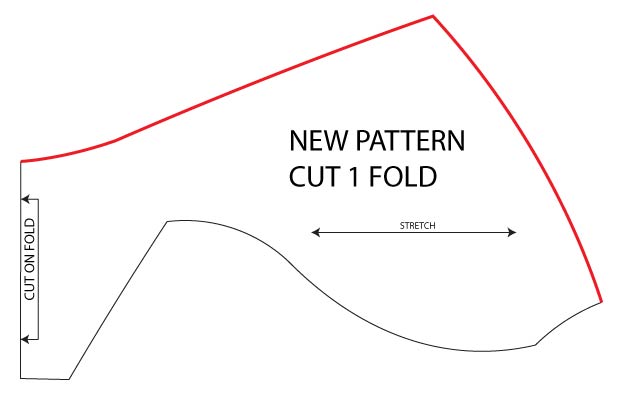
Cut your knickers with this new pattern piece 1 and follow along with the normal assembly instructions! The crotch pieces are unchanged.
The elastic length for the top edge are to be calculated if you like by 80% of the new measured top length.
The elastic length for the top edge are to be calculated if you like by 80% of the new measured top length.
I like to stretch the elastic as I sew, to make sure I have good stretch fitting to my elastic to my fabrics, as elastic percentages do change per fabric and per elastic.
I hope you’ll have fun with your Maternity hack, I’d love to see your results!
Please share your hacked Ava with hashtag #Avamaternityhack and I’ll keep my eyes peeled!
Love,
XOXO
José