Fitting
Fitting for Lower Bust Point and Princess Panels
Hello my lovely friends and I hope today finds you all well and happy.
Today is the 2nd blog post to celebrate the release of the gorgeous Madison Colour Blocked Dress and I would like to talk to you about changing your bust point on your pattern and how to do this given that you have princess panels in play.
Like every pattern that you make it will be necessary to tweak the fit of your garment to get absolute perfection.
Just in case you missed out on yesterdays post – Fitting for Bust Projection and Princess Panels – be sure to check it out. I discuss how to recognize strain of the side bosom and what steps have to be undertaken to fit that area.
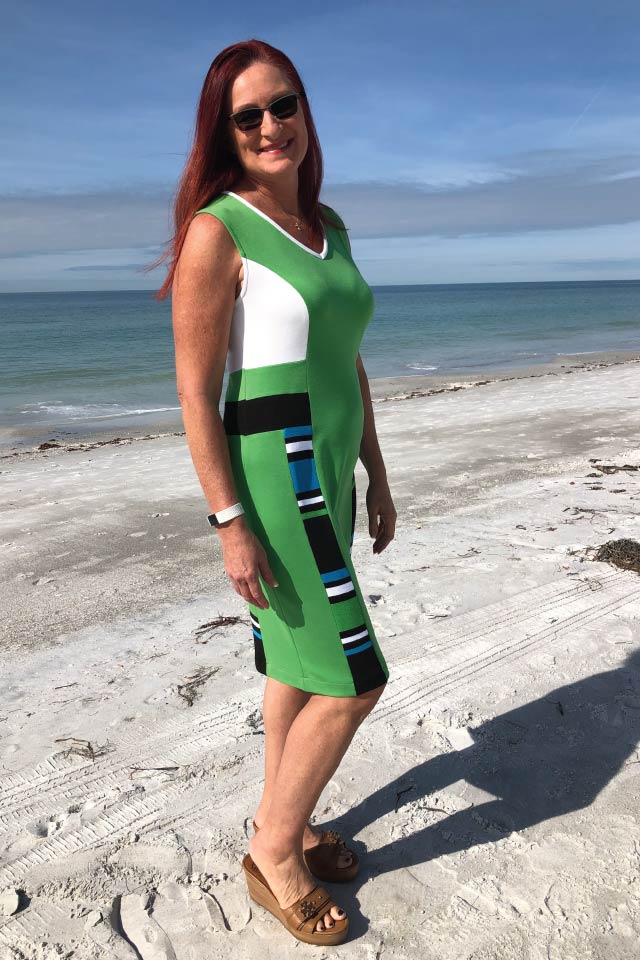
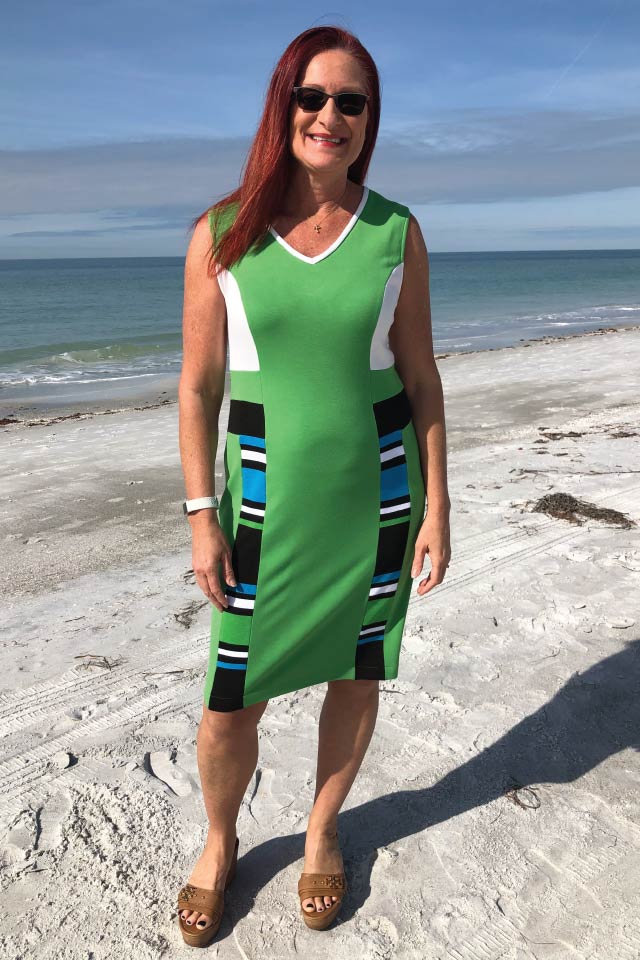
So I would like to introduce you to one of our fabulous pattern roadies – Debora VH – who recently road tested the new Madison. The above image showcases how stunning she looks in her final make. Absolutely AMAZING Debora xx.
Debora again chose her sizing according to her measures but this time we had to tweak the pattern to accommodate her lower bust point.
And now I would like share with you our Debora’s bosom fitting journey. xx
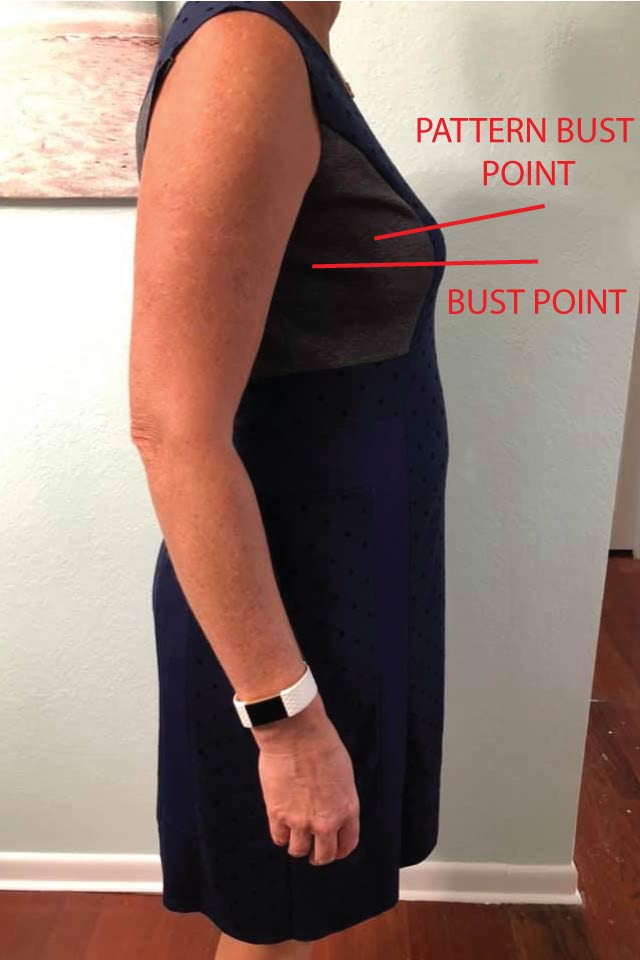
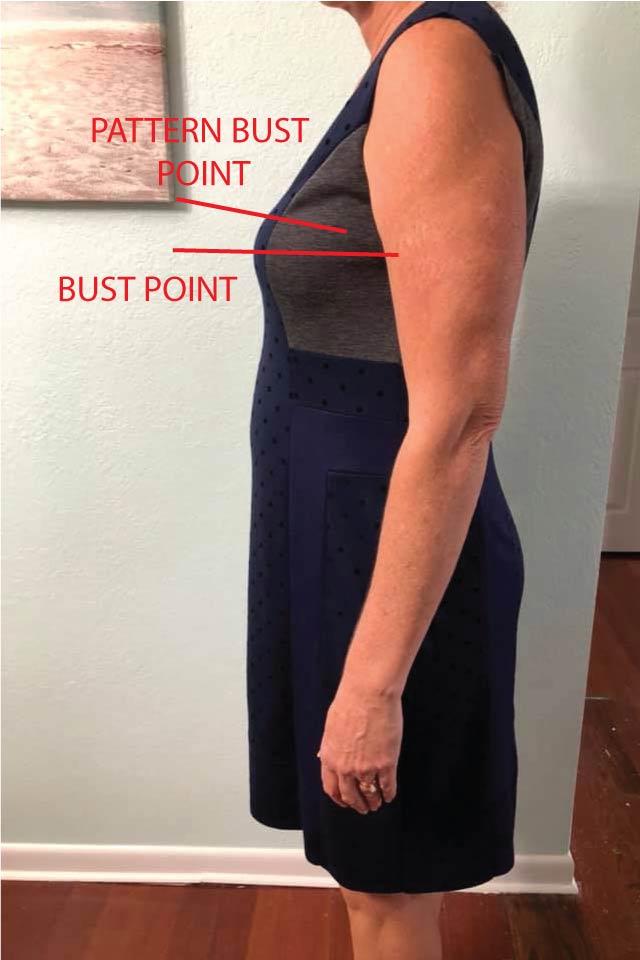
The above image shows that our Debora’s bust point is lower than that of the pattern. You will see in the images where I have indicated the patterns bust point as against the bodies bust point.
The alteration to the pattern is quite easy to achieve and results in a well fitting garment.
Step 1.
All seam allowances must be marked onto the pattern in a contrast colour.
Then stack your pattern pieces on top of each other at aligning the seam allowances on themselves.
Match up the Side panels to the Centre Front panels overlapping/aligning the seam allowances. Where the side panels touch/align the Centre panel will be the bust point.
You will see in the above image the point of alignment.
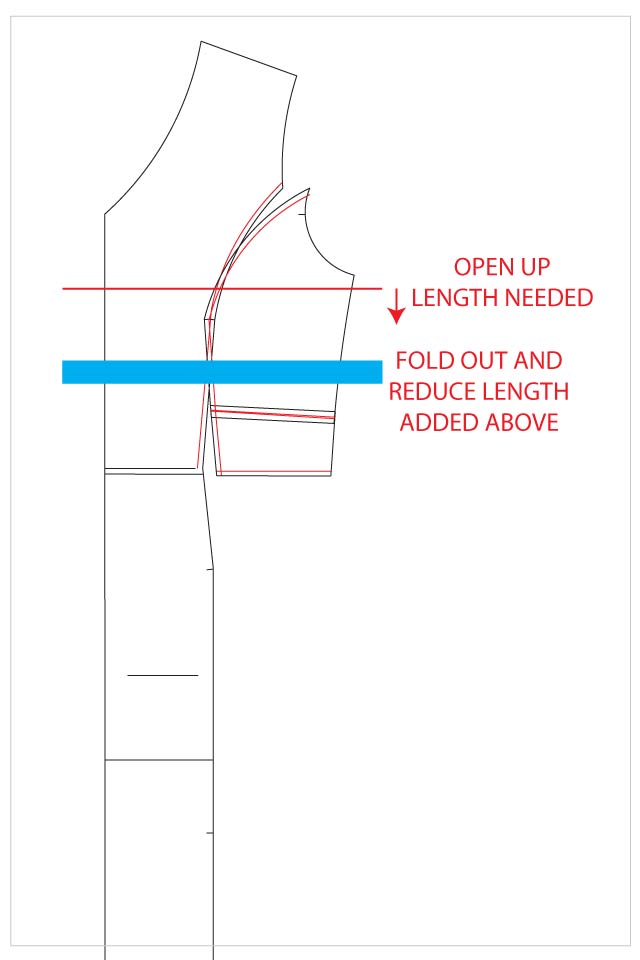
To alter the bust point we will be splitting the pattern to add length above the bust point and then reducing the length below the bust point.
Step 2.

Keeping all pattern pieces stacked to each other you will open up the top section – above the bust point – and overlap the bottom section – underneath the bust point.
How much you open/overlap is dependent on the amount needed when you have measured the toile on your body.
Once you have opened/overlapped your required amount stick some scrap paper behind your pieces to fill in the open gap.
Step 3.

Carefully separate all of your pattern pieces. Where you have a gap in the edge of your pattern piece use a pencil to blend in your curves.
And if you have any jogg in the pattern edges where you folded out your pieces blend those edges also.
And that is IT !!!….quite and easy alteration but essential to make sure that your garment curves at your exact bust point.
Thank you Debora for allowing me to feature your bosoms in our post today. Love to you and your Madison fits you beautifully xx.
And the details of Madison Colour Blocked Dress are :
The Madison Colour Blocked Dress is for a sewing level of Confident Advanced Beginner and Above.
On Sale for a limited time only – $8.95 (US)
(AU/UK) 6 – 28
(US) 2 – 24
(EU) 34 – 56
Cup Sizes – B, C, D, DD
https://designerstitch.com/shop/madison-dress
And be sure to check out tomorrows blog post where we start the Madison Dress Pattern Tester Round-ups. This is my most favourite part of any pattern release. xx
Lots of love to you.
Cheerio xx
Ann at Designer Stitch.