Tutorial
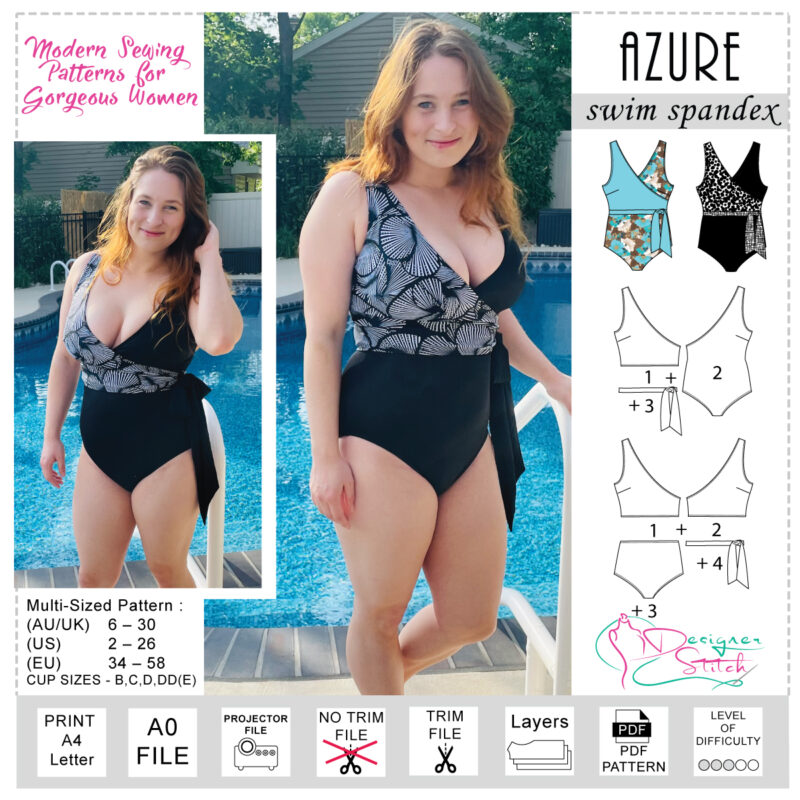
Sway Back Adjust For The Azure Swimsuit
Greetings my friends. Today I am going to show you how to adjust your Azure Swimsuit back pattern piece in case you have any pooling of fabric either at your back waistline or just above it.
Even though you may have measured your torso length as detailed in the sew instructions measuring vertical lengths doesn’t take into consideration your curvature of your spine. The torso length measure took care of the total length but the sway back adjustment will take care of the curve of your body.
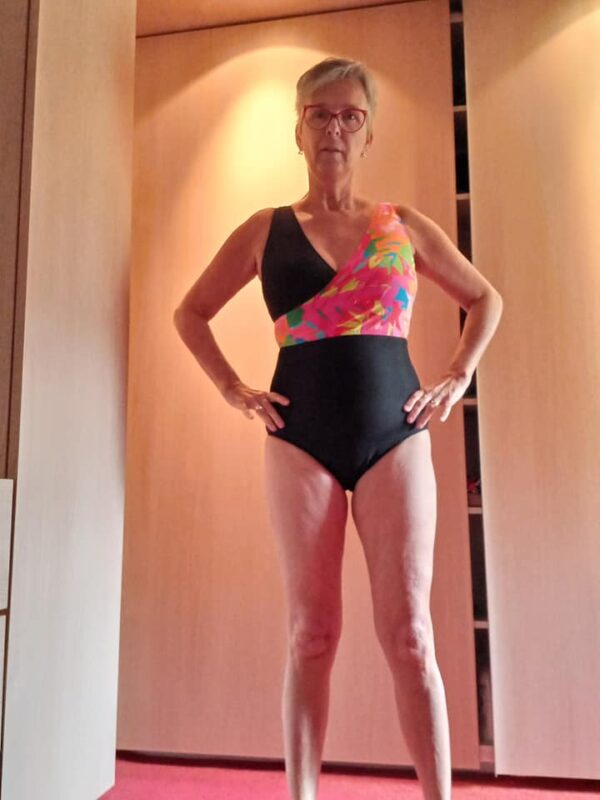
A few of our roadies (pattern testers) had to do a small sway adjustment for their Azure Swimsuit – including our gorgeous Christine M above.
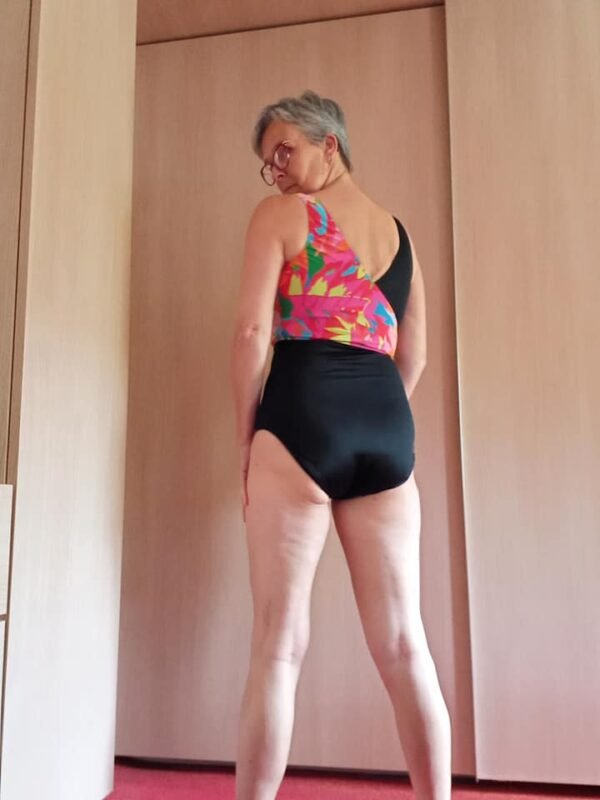
As you can see by the above pictures of Christine’s fitting toile the front of the Azure Swimsuit in perfect in her vertical length – but you will see some small amount of pooling of fabric in the mid back at her waistline area.
This sort of adjustment is quite common and I had wrote quite a lengthy how-to-post back in March 2019 for the Clara Dress release. The full post can be found here. Pattern Alteration for a Sway Back – Designer Stitch
The adjustment is very easy to do and will ensure a perfectly fitting Azure Swimsuit.
Sway Back Adjust For The Azure Swimsuit
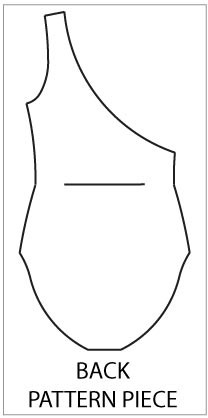

The back pattern piece – as it is an asymmetrical design – is a single full pattern piece. (Image left)
Fold the pattern piece in half vertically and rule a centre line down this fold. (Image centre)
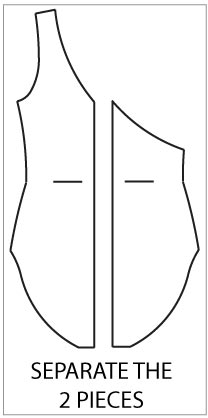
Then cut and separate the back into 2 individual pieces. (Image right)
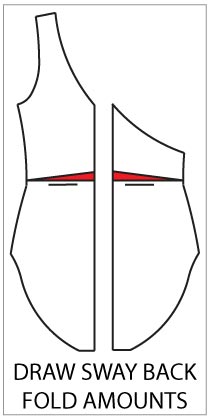


Draw on each back pattern piece the width of your sway back fold – at CB – tapering to nothing at the side seams. (Image left)
The full amount of folded area on your fitting toile should be the same as the full amount you have drawn onto your pattern piece.
The amount is indicated by the red portions drawn on to the back pattern pieces as detailed in the above image.
Then you will fold out the sway back fullness – physically – out of the pattern piece. (Image centre)
The sway back adjust is just like a fitting dart. So you are eliminating the fullness entirely from the pattern piece by folding the excess out.
Folding out the fullness will result in your back pattern piece now being contoured – as shown in the 2nd pic above. This is essential – as it will now follow the curve of your CB.
Now all you have to do is add back your seam allowance – here it is 6mm (1/4″) as you will be stitching your swimsuit with a CB seam allowance. (Image right)
This will give you the best optimal fit possible for your Azure Swimsuit and look fabulous on you.
Love to you all xx
Cheerio
Ann xx