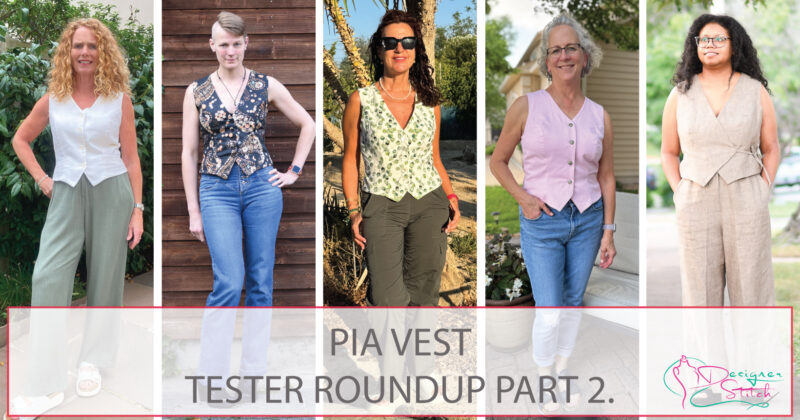
Hey ho my lovely friends. We are now in Day 2 of our Pia Vest Pattern Tester Roundups – Part 2 – and everyone has been so impressed with how fabulous the pattern testers look in their Pia Vests.
And the compliments about their individual fit has been so positive. So THANKYOU
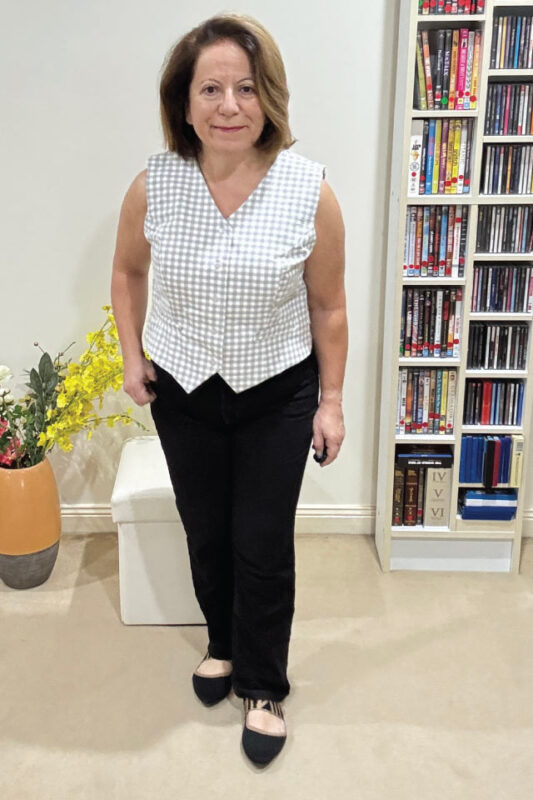
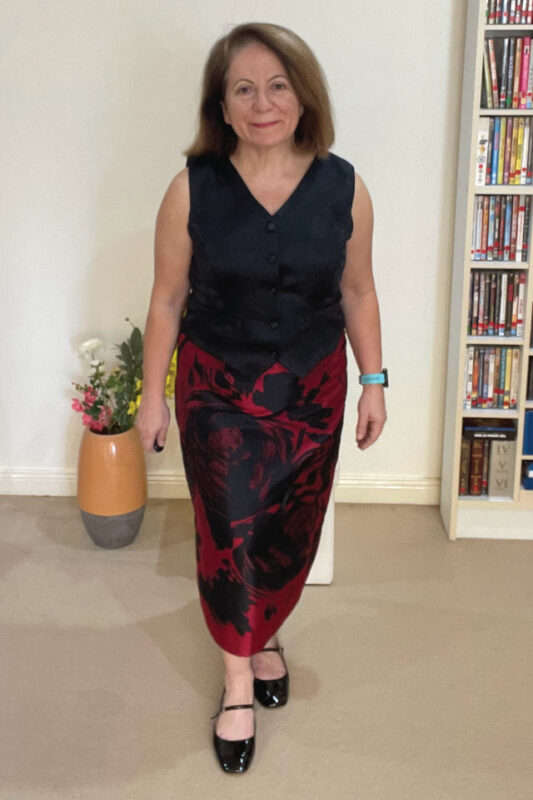
The Pia Vest one of the most versatile pieces you can own. No matter your shape or size, the right vest adds structure and polish without ever feeling too fussy.
It’s the perfect elevated alternative to a basic tee or tank in the summer.
Or add a basic white shirt underneath, teamed with an A-line skirt – and boots – and you are ready for the cooler months of the year.
So please shoutout to each and every one of our pattern roadies. Much love to you all.
And they would like to share the following with you
1. Your name and where you live ?
2. What fabric combinations did you choose and where did you purchase
3. What sewing tips can you share when sewing the
Pia Vest ?
4. What was your style choice for the
Pia Vest ?
5. What fit alterations did you have to make to the
Pia Vest ?
6. Have you worn your
Pia Vest yet and what compliments did you receive.
7. Any plans for future combinations of the
Pia Vest ?
8. Social media URLS
Hello! My name is Sue and I live in South Dakota. We have had a hot and humid summer and sewing a chic sleeveless vest was so much fun for me! This vest is all about how it fits. You must make at least one muslin in a fabric that is close to your desired final garment. I used a mid weight denim for my muslin and final garments. Normally I make a sloping shoulder adjustment, swayback adjustment, and add length for my torso. When making my muslin, I needed an even more pronounced swayback and needed to adjust the waistline a bit along with my usual adjustments. My husband is so used to seeing me in my makes and with this one, he was very complimentary saying, “Whoa, that’s pretty sexy!” I feel so good wearing this vest! I hope you’ll try this fun pattern!
Hi Ann, thank you so much for welcoming me in to your fabulous team of roadies and including me in the Pia Vest test
1. Your name and where you live ?
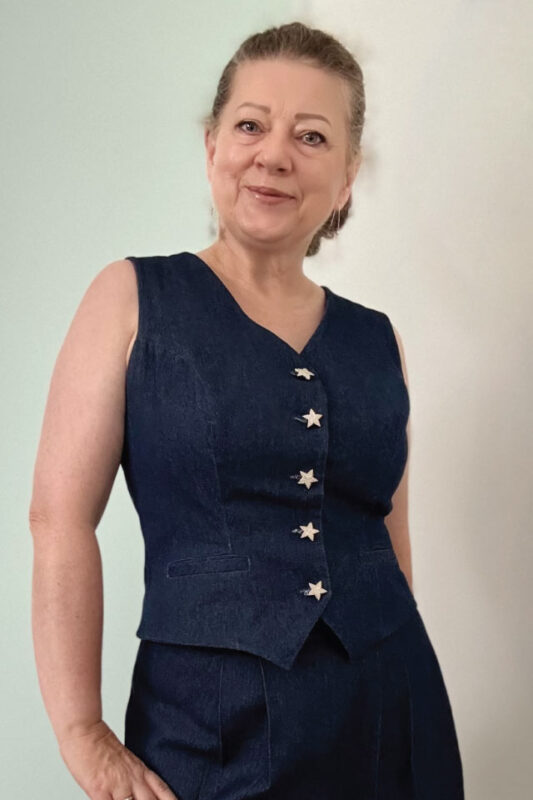
Hi, my name is Amanda G and I live in Bristol in the UK
2. What fabric combinations did you choose and where did you purchase
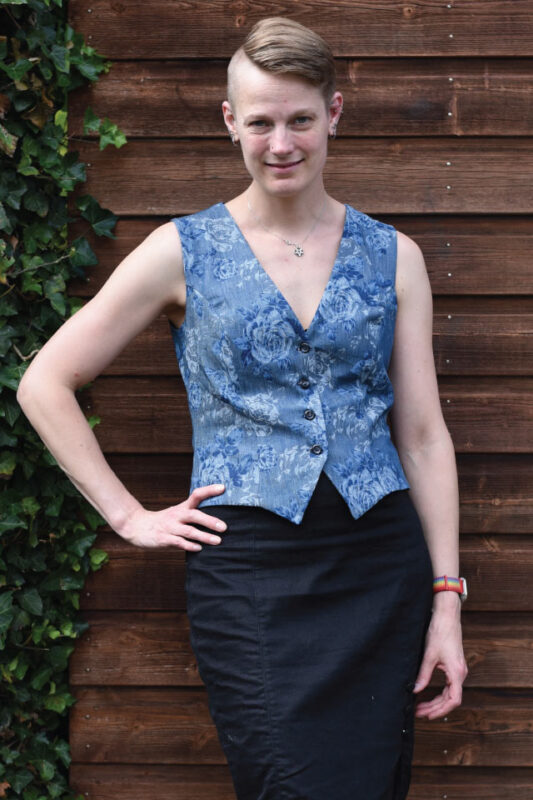
I’d recently bought a selection of deadstock denim from Empee – Wholesale Fabrics in London and as soon as I saw her I knew Pia was destined to be in a gorgeous navy denim.
3. What sewing tips can you share when sewing the Pia?
My best sewing tip for Pia has to be pressing as you go. Press every dart and every seam as you go and use LOTS of steam. Take your time, pressing princess seams can be tricky but it is so worth while as it will take your vest from looking well made to professionally made with gorgeously smooth curves
4. What was your style choice for the Pia?
Initially I was drawn to the side tied version but it’s summer here in the UK at the moment and I had a vision of the centrally buttoned one with a pair of matching denim shorts
5. What fit alterations did you have to make to the Pia?
I’m 5’2″ and needed to shorten the pattern pieces by 2cm to bring the waist up to my natural waist. Then as there was an excess of fabric across the top of my back I took the back seam in by 2cm tapering it down to the waistline. Finally the fit was a little snug over my belly and the top of my hips so I reduced the 1.5cm seam allowance to 1cm from the waist down .
6. Have you worn your Pia yet and what compliments did you receive.
I wore my Pia with a pair of matching shorts to a birthday lunch for my mother in law and received so many compliments on the fit. The immediate reaction from my MIL and SIL was WOW! My mum was also super impressed. I’m not very body confident at the moment so it’s really good to be able to make something to wear for myself that I feel really good in and all the compliments made me feel even better
7. Any plans for future combinations of the Pia?
I’ve got 2 more in mind. One in a much lighter viscose fabric to go with a pair of summer shorts I have made and another in a black faux suede
8. Social media URLS
Hi, I’m Barbara B from Northeast Mississippi, USA
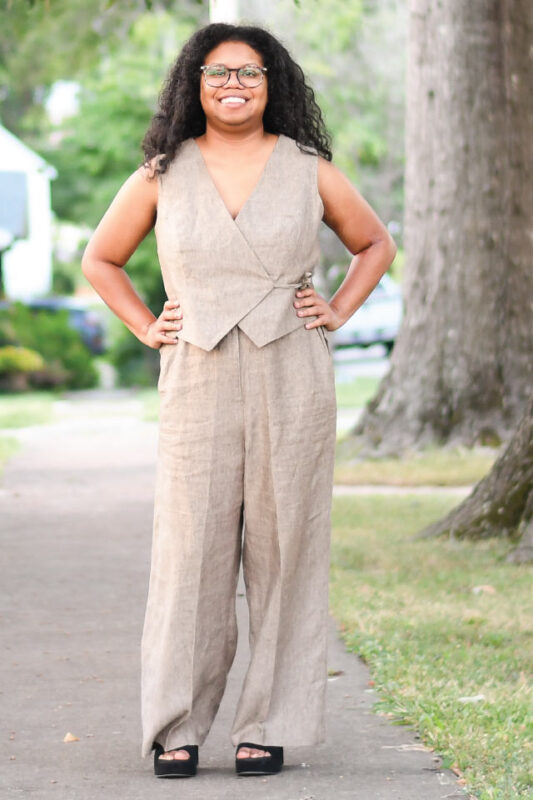
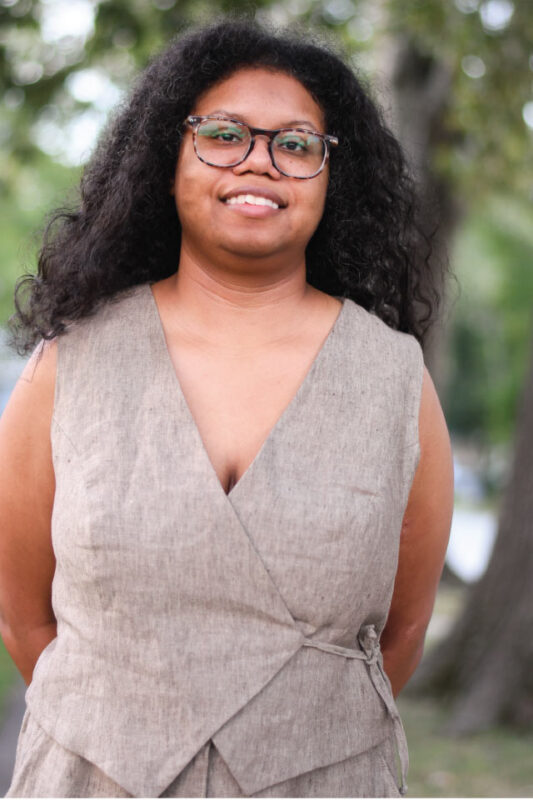
My DD’s Pia Vest was made with Irish Linen that I purchased from LAFinchFabrics.com
DD chose the side tie vest without welt pockets. I made several alterations to her Pia-shortening, swayback adjustment, raising the v-neck for modesty, and trimming the shoulders.
DD has worn her Pia Vest paired with her Estelle linen pants. Many compliments were given.
I plan to create several Pia Vest/Estelle pant combinations in the future!
Hello Lovelies, this is Brenda from the Netherlands.
I’ve made 3 Pia vests as of yet. I plan to make a gazillion more. This pattern is fantastic and stole my heart!
I used 3 different kinds of fabrics for my vests. A light, medium and a more heavier fabric. I changed the kind of interfacing accordingly.
Oh! Did I mention before? This project is perfect for scraps.
2 of my vests are made out of scraps. From the 3th I can’t remember where the fabric came from.
For my vest, I did mostly my regular alterations ( lengthening slightly). Apart from that i just did a slight contouring from the center back.
I have so many ideas for future vests!!!
Love Brenda
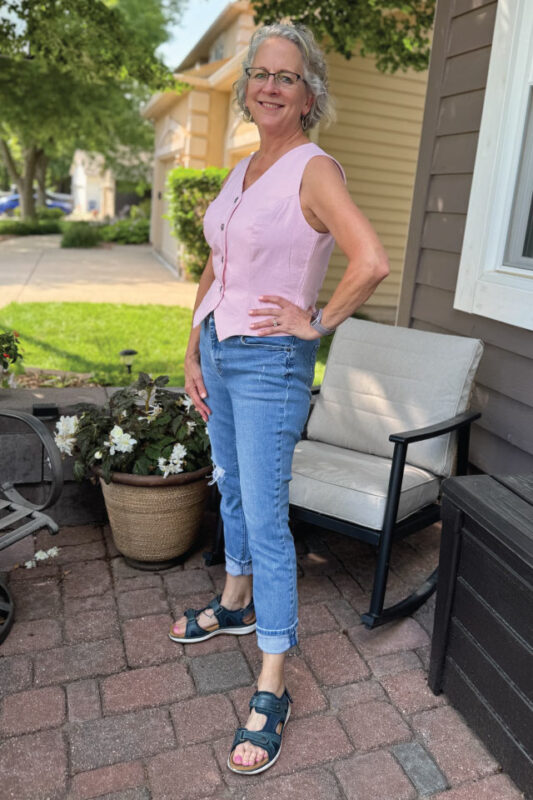
Your name and where you live ?
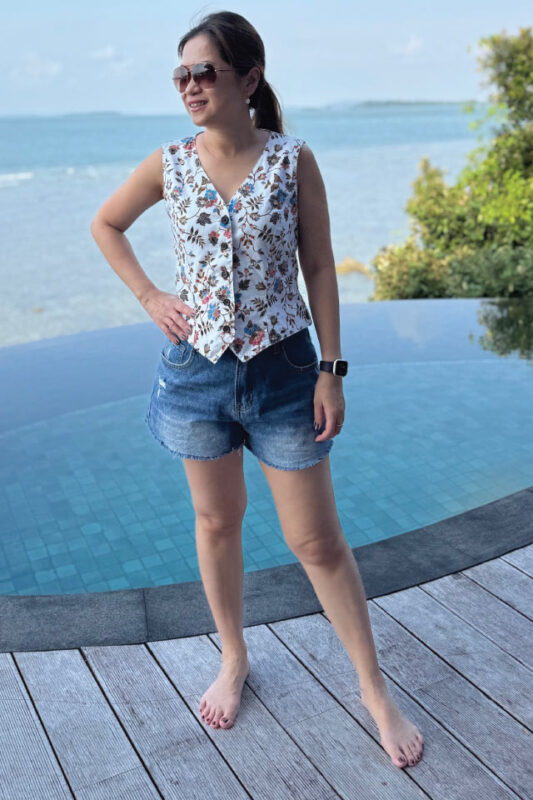
Grace and I live in Singapore!
2. What fabric combinations did you choose and where did you purchase. Cotton Batik with a white cotton inner lining purchased from Brighton accessories house.
3. What sewing tips can you share when sewing the Pia? Definitely sew up a muslin to test the fit before cutting into your actual fabric.
4. What was your style choice for the Pia? Pia is so versatile, I can wear it with almost everything! I tried it with jeans, shorts and skirts. Love it!
5. What fit alterations did you have to make to the Pia? 3cm swayback and took in side seams by 1cm each side.
6. Have you worn your Pia yet and what compliments did you receive. Yes! And received many compliments that it was a nice top!
7. Any plans for future combinations of the Pia? Will try to make one in a plain fabric.
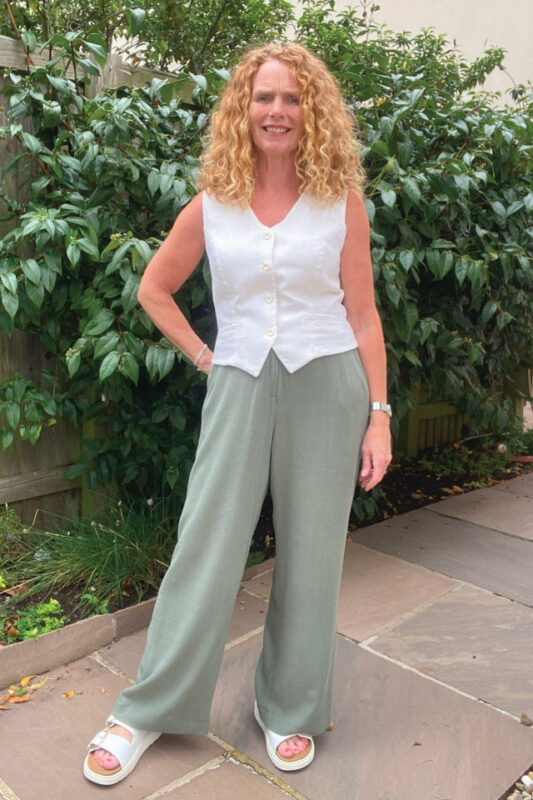
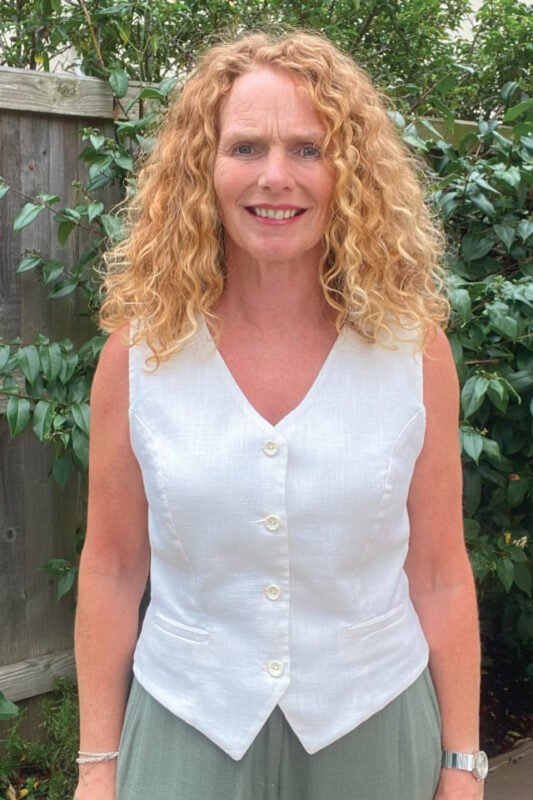
Hi, I’m Diane from the UK
I used a lovely cream linen fabric which sewed and pressed really well and gave great structure to the design of the Pía vest. I made my vest in size 2 and graded it to 3 at the waist and hips. I shortened the body by 1cm and did a shoulder adjustment for one shoulder. This ensured my fit was correct and there are lots of guidance notes in the instructions to ensure you also can create the perfect fit.
The instructions are very clear as usual and although attaching the lining may seem a little daunting it was actually very easy – just follow the instructions step by step and ensure you press at every stage.
I wore the vest recently with the Estelle pants and the look was very on trend and my friends couldn’t believe I had made the whole outfit. Lots of options for different styles of the vest which also makes it a very versatile pattern and I can’t wait to make another one.
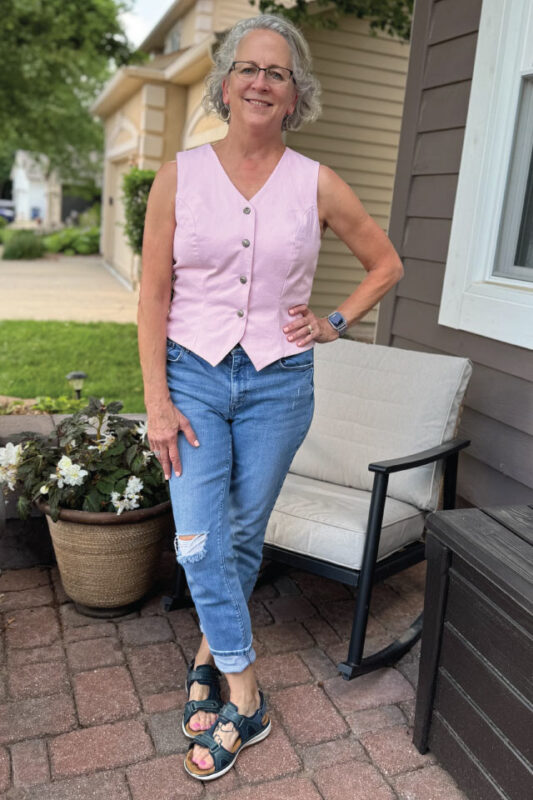
I’m Maria and I live in Sydney Australia
1. What fabric combinations did you choose and where did you purchase
My fabrics were in my stash and I’m so glad Pia is a great stash busting design that is on trend right now.
2. What sewing tips can you share when sewing the Pia?
Choose the style you are going to get lots of wear from. I chose the button front version because that’s what I will be wearing the most in Summer.
Do a practice version of the welt pocket. It’s been a while since I sewed a welt pocket and I did some rookie errors on my first version and then laughed at my work. The welt pocket is a key feature of this design so I know this is a sewing technique to enjoy getting right.
Definitely put the time into sewing a test version to make sure your Pia fits you well.
After years of clothing designs being very roomy, this design will give you great shape no matter what size your body is.
Ann’s design has great cup size options that enables you to get a good version to tweak for your shape. She’s also put a lot of effort in making sure her pattern test group have adjusted Pia to suit our individual bodies.
4. What was your style choice for the Pia ?
I sewed the button front version because it’s a classic style that I will always use.
I used size 5 C cup.
5. What fit alterations did you have to make to the Pia ?
These are all alterations I did with Ann’s advice after seeing my test version. She’s really generous with her knowledge.
I’ve shortened the all bodice pieces by 2cm.
I shortened the front bodice length by 2cm at midway from the bust point to the shoulder seam. I had to true the neckline on the front bodice.
On the back bodice and back bodice lining I did a sway back adjustment.
With all of these adjustments made on the test versions, I rechecked these from my test version to both final versions I’ve sewn for this test.
6. Have you worn your Pias yet and what compliments did you receive.
I did get a wolf whistle from my husband when I showed him the finished versions. It’s too cold here to wear these two right now.
These Pias are sewn for Summer wear. I did try to wear a knit top underneath them and it didn’t work well.
7. Any plans for future combinations of the Pia?
I will test a Winter Pia version in wool fabric so I have one to wear right now.
8. Social media URLS
Blog Velosews – What Maria sews
Facebook
IG Maria – I sew (@velosews) • Instagram photos and videos
Hello, my name is Elise and I live in Australia. I have made my Pia in linen, it is light and bright and fun. When making the Pia the most important part is to do a fit test. I have completed a sway back adjustment and also graded between 3 sizes. Grading is one of the easiest things you can do to improve your fit. I wore my Pia to work and everyone was impressed that I had made it. The finish is so professional that you will need to tell people you made it.
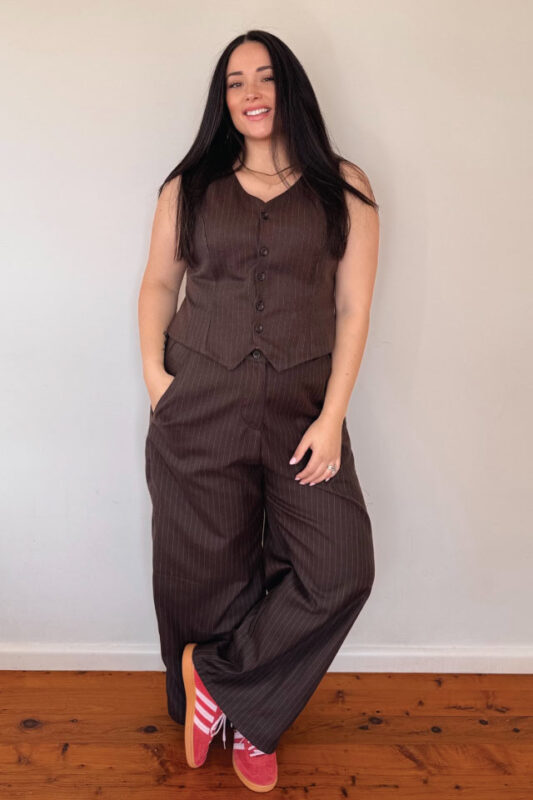
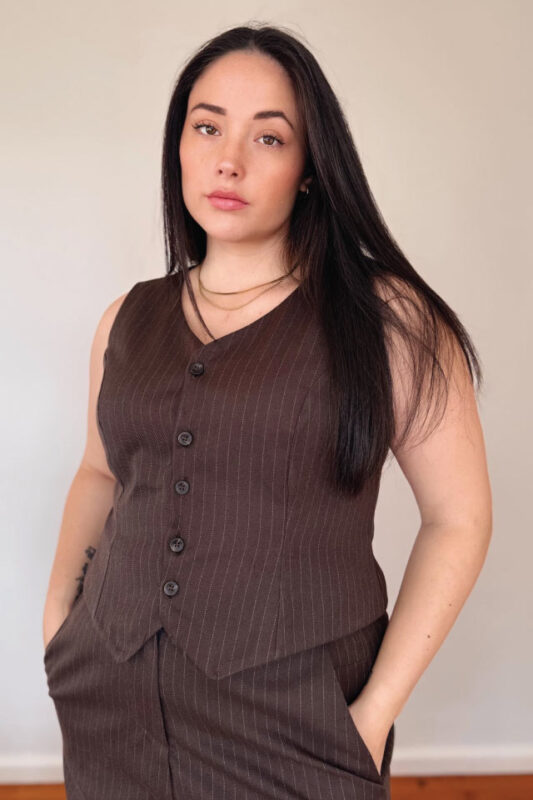
Hi, I’m
Steph White from Sydney, Australia. I made my Pia Vest using a medium-heavy weight wool suiting with a subtle pinstripe aesthetic and paired it with a matching set of Estelle Pants. Wide-leg trousers and tailored vests are everywhere right now, and these two patterns combined beautifully to recreate the trend in a way that feels uniquely me.
I graded my Pia across three sizes and also took it in slightly under the arm. The instructions were so clear and supportive—it made personalising the fit feel effortless. My biggest tip? Make a toile. It’ll take your final version to the next level!
I’ve already worn my Pia and Estelle set to work twice: once with heeled boots, once with sneakers, and both times I received so many compliments. People are genuinely surprised when I say it’s handmade, not store-bought.
As we head into the tail end of the Australian winter, I’m already planning my next Pia: a matching vest and skirt set. Can’t wait!