pattern tester roundup
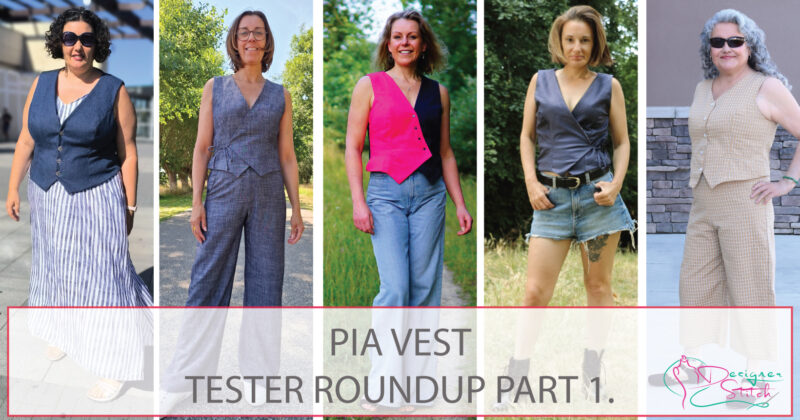
Pia Vest Pattern Testers Roundup Part 1
Greetings to you all my fabulous sew’ists. Today we have part 1 of the Pia Vest Pattern Testers Roundups – and how spectacular my roadies all are.

Versatile and chic, it’s no wonder tailored vests are once again entering the trend and the Pia Vest certainly does it all.
As you can see by all of the amazing makes by our pattern testers prove that this garment is a wardrobe essential making it a breeze to wear.
The Pia Vest offers 4 style options which will check all the boxes for design and trend.
So, let’s start the wonderfully inspiring pattern tester roundups – Part 1 of the Pia Vest.
Please my friends – please welcome our new Pia Vest and our fabulous team of pattern testers.
And they would like to share the following with you
1. Your name and where you live ?
2. What fabric combinations did you choose and where did you purchase
3. What sewing tips can you share when sewing the Pia Vest ?
4. What was your style choice for the Pia Vest ?
5. What fit alterations did you have to make to the Pia Vest ?
6. Have you worn your Pia Vest yet and what compliments did you receive.
7. Any plans for future combinations of the Pia Vest ?
8. Social media URLS
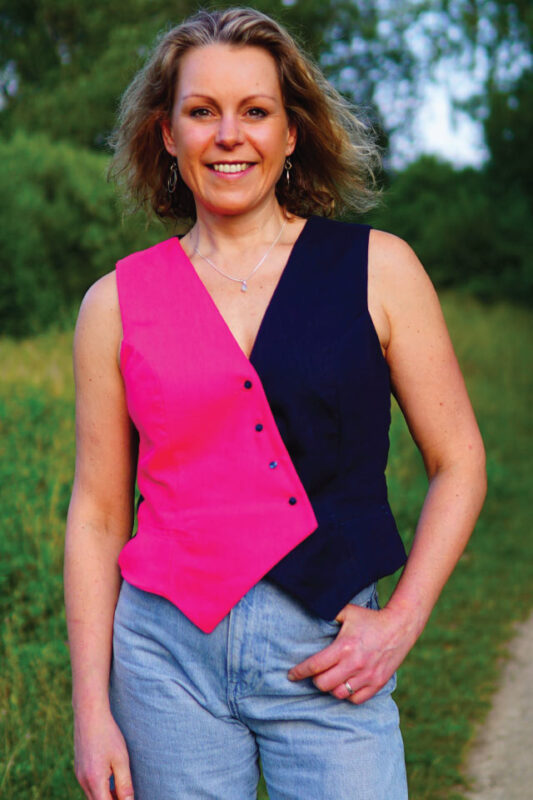
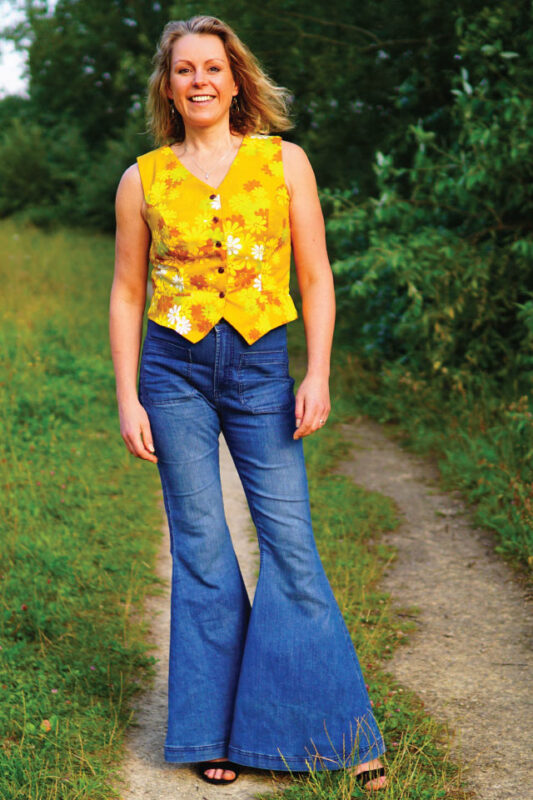
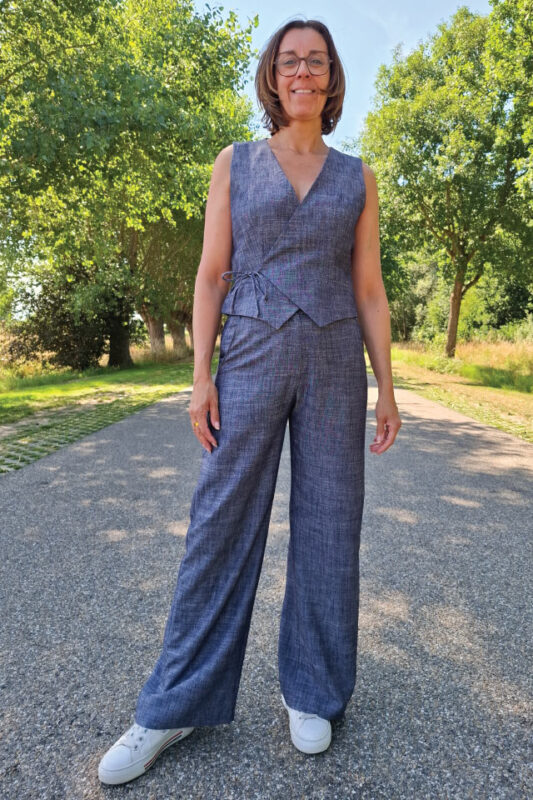
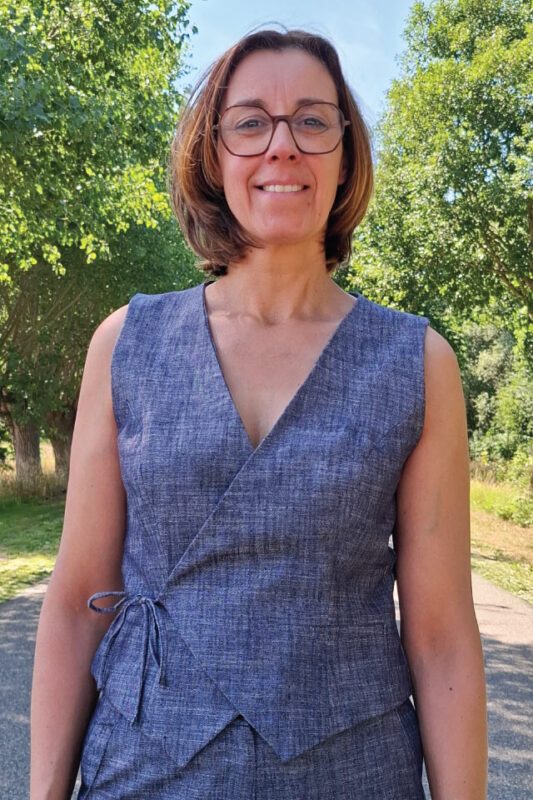
Hi, here I am again! I am Marieke from the Netherlands and just love making Ann’s patterns so much! This time I saw the call for the new Pia Vest and this is just so my style! I wear vests through the year for years already: just as vest in summertime or layered when it’s colder. I own woolen, suited, linen, cottons etc. and decided to make some whole new versions to expand my wardrobe So, now I have a colorblock version- which I adore because of the angled look which is so different! For the other one I decided to use my original ’70’s fabric which I saved for something special. I only had 1 meter of it so I have had quite some patience waiting for thát project. This also shows again: there aren’t wrong fabrics, you just need the correct pattern- and otherway round of course. Anyways, I think it’s pretty clear I am over the moon with my new vests and from now on I can steadily grow my vests collection You can have a look at my Insta for more inspiration if you like: https://www.instagram.com/jongdesign Enjoy the sew!
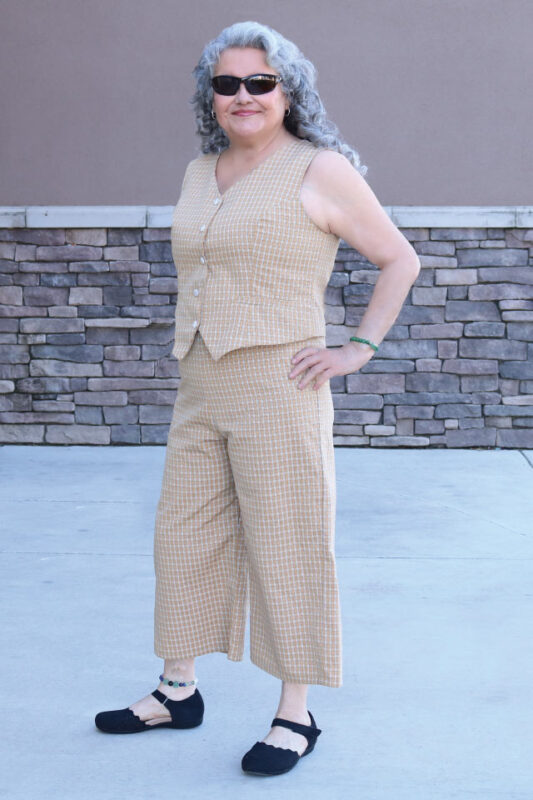
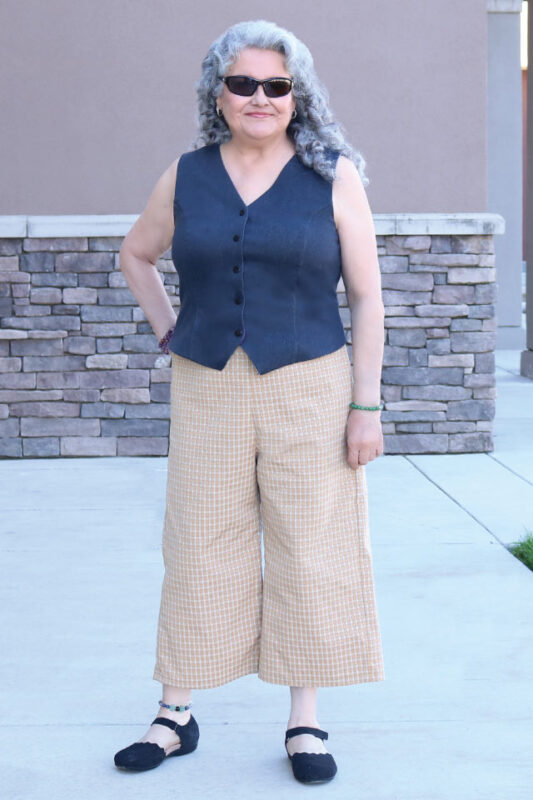
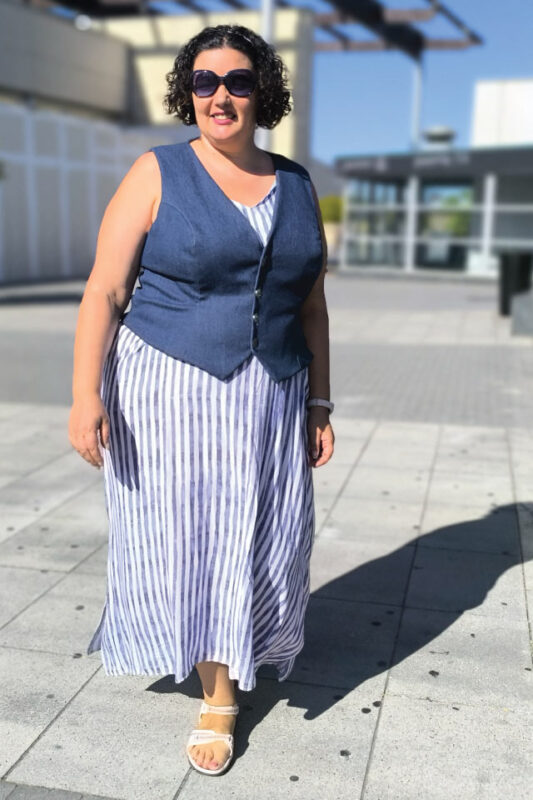
My name is Synthia and I live in Central Ca. I love the design of the Pia and the few options to sewing one up. I made two Pias. The 1st one was out of Denim fabric with metal snaps and was my muslin to obtain proper fit. For adjustment I needed to lower the bust point, I made a sway back adjustment, and I shortened the overall back as it was too long for me. After adjusting for fit, it became a wearable muslin. My second Pia was made with a woven fabric, shell buttons, faux pockets, and matching Tanner culottes also from DS, love this look. Both Pia vests, I made using the classic version with 5 buttons down the center. I do plan on making the other two version in the future, would like to try one from a cotton lace. One of my tips, sewing up a muslin is a must for the Pia vest, well worth the time and effort. I wore my denim Pia out to the Dr’s office, used it over my midi length Monica dress, I just loved this look and was complimented on it. Love the Pia vest design and its versions to choose from. https://sewsynsewn.blogspot.com

Al Punto Nieves – The Pia vest is a beautiful pattern to show off your feminine curves. To achieve a great fit, it’s well worth spending some time in a muslin. Whether you wear it alone or with other garments underneath, it will be a jewel in your wardrobe.

Hello, I’m Ashley Riley from London, and I’m excited to share my take on the gorgeous new Pia Vest.
This pattern is designed for woven fabrics, and I stitched up two different styles, the side-tie and the classic vest. For my fabric choices, I went with corded suiting paired with cotton poplin lining for my side tie vest, and a lovely cotton with satin lining for my classic from abcfabric.co.uk, a UK-based company, for the other.
Both vest styles offer completely different vibes, which I love. I always recommend making a toile in a fabric similar to your final choice, it helps fine-tune the fit before diving into your real version. Personally, I noticed a bit of front gaping, so I removed a 1.5cm wedge from the front bodice and shaped the back slightly to get rid of excess fabric. The adjustments gave me the perfect fit!
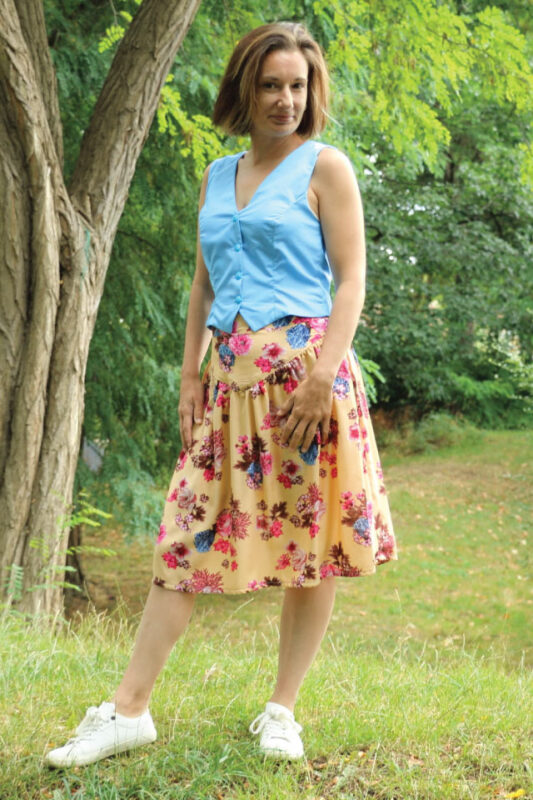
For styling, the side-tie vest gave off a fun festive vibe when paired with jean shorts and boots, while the classic vest looked elegant with a skirt perfect for afternoon tea. I’m already dreaming up more Pia vests for my wardrobe.
My name is Isabel van Hal and i live in the Netherlands . I choose to make the pia vest with cord and combine it with the estelle pants wich i also like .I used a viscose/linnen in the colour blue and made size 3B no alterations necesarry. The sewing tip to make the pia vest is make a toile first i also did . I think i am going this vest again in another fabric at another moment
My ig name ; www.instagram.com/sewing_isabel.
Hello, I am Girl in Uniform Lieve. I made this cute, stylish Pia from a light denim fabric by Editex. The purple-blue color makes the fabric easy to combine with most of my wardrobe. Would you like to make the Pia? Be sure to sew a toile first, because the fit is crucial for this cute vest! I made a fairly classic Pia with buttons and two welt pockets. I did a sway back adjustment and lengthened it by two centimeters, because I have a long torso. That way, I can avoid showing my midriff, and my Pia fits both a skirt and dress pants. Want to see more of me? Visit www.girlsinuniformblog.com or www.instagram.com/girlsinuniformblog.

Hello, HOLA, my name is MACU, I am Spanish and my home town is ALICANTE located in the South East by the coast.
As a vest lover I couldn’t say no to such appealing pattern PIA VEST
I ended finishing two vests:
* My first one started as a toile with some fabric remnant, but I liked it so much so I finished it replacing with lining, the parts that should have been sewn with main fabric in the inside, due to fabric shortage.
The style of my first Pia is the classic buttons vest choosing the middle line for the neck (not too high, not too low). I wear it on its own with pants and I have been so complimented than I had to gave it away, luckily to my sister, so I can always borrow it, everyone is in love with the fabric and style!! Unfortunately fabric is sold out as I bought it a while ago in the famous Mercat del Encants in Barcelona.
My only alteration was to adjust the back seam so that it fitted perfectly.
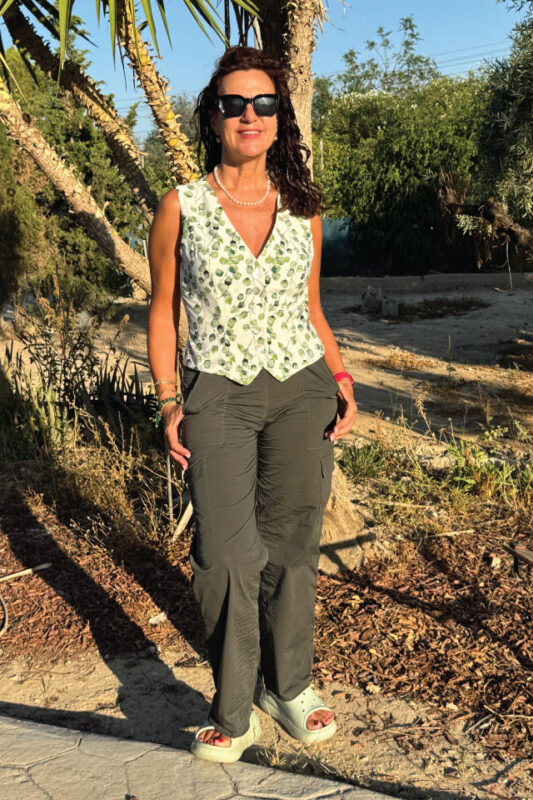
• For my final vest I chose the crossover style with ties in white, the fabric is an embroidered cotton batiste but it can’t be seen in the pictures! I wore it for work and also for going out and everybody liked it. White is so cool for Summer when you are tanned!
I love pattern testing for @designerstitch and I am thrilled to be in this wonderful group where I learn every day. This time Ann surprised me with finishing the side seams in a fantastic way I had never seen before!
TIPs for PIA VEST
* if you don’t get on well enough with button holes you can always try the crossover tied version which is super easy.
* Pay attention to the fit issues and adjustments and you will enjoy it double!
You can find me in INSTAGRAM as @macusewinglove https://www.instagram.com/macusewinglove
Hi, my name is Meiling and I am from Perth, Western Australia.
I used a suiting fabric purchased from www.spotlightstores.com to make my Pia Vest.
Some tips would be to take your time getting the right fit with your toile first, making those little tweaks help you with the perfect fit!
I chose to make the double cross-over style and I am in love!
I needed to take in the back centre slightly with my Pia. I haven’t worn my Pia as yet, but definitely planning to!
I have plans to make another out of stencil denim.
You can find me at www.facebook.com/sewaholiccreations or www.instagram.com/sewaholiccreations
Hello and welcome from Yorkshire, UK. I’m Tina.
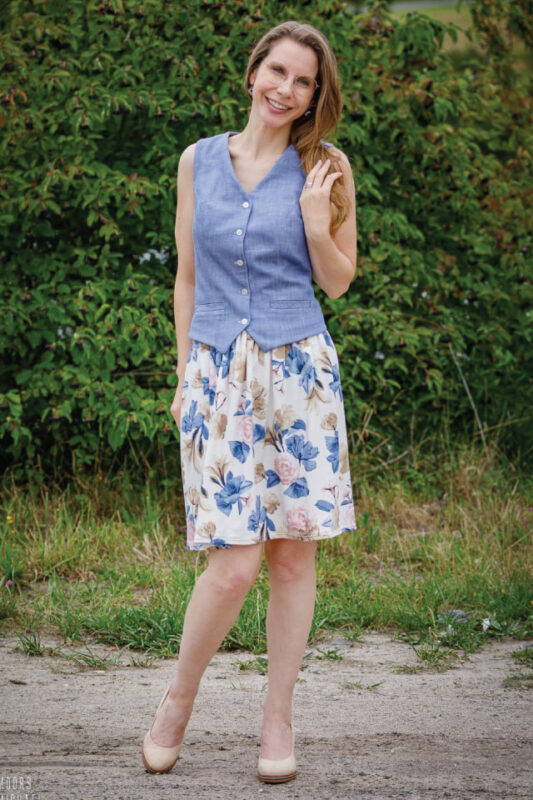
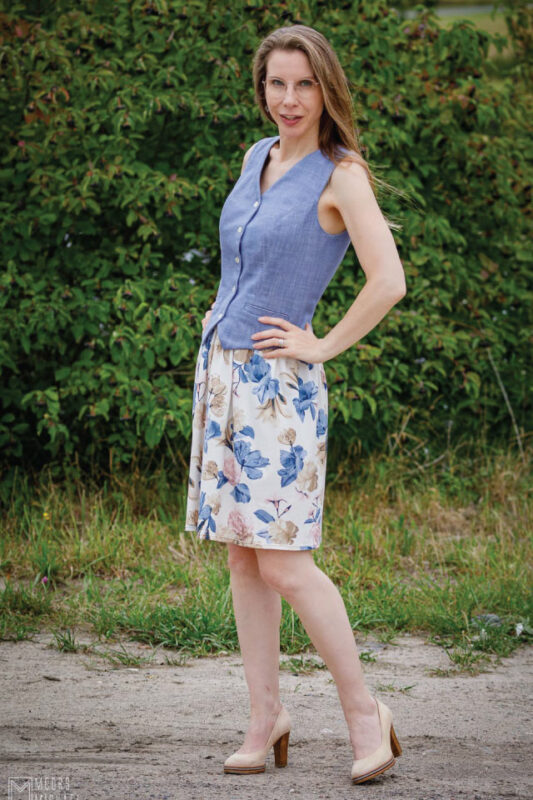
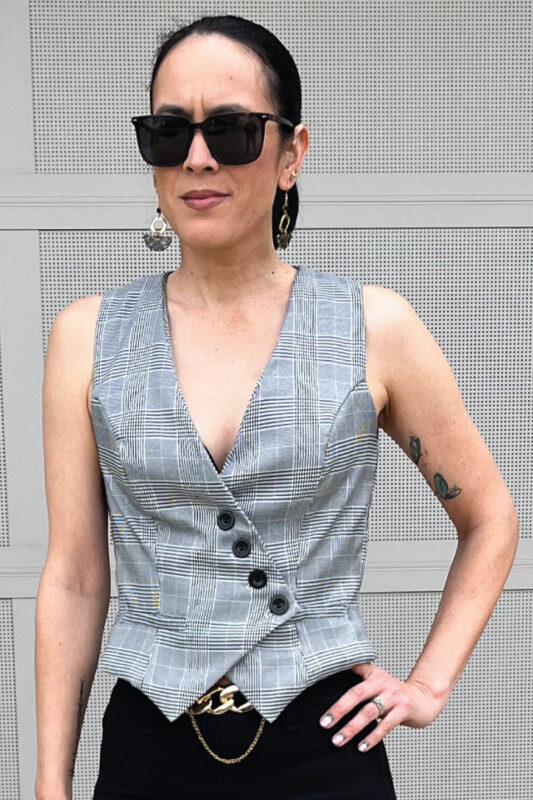
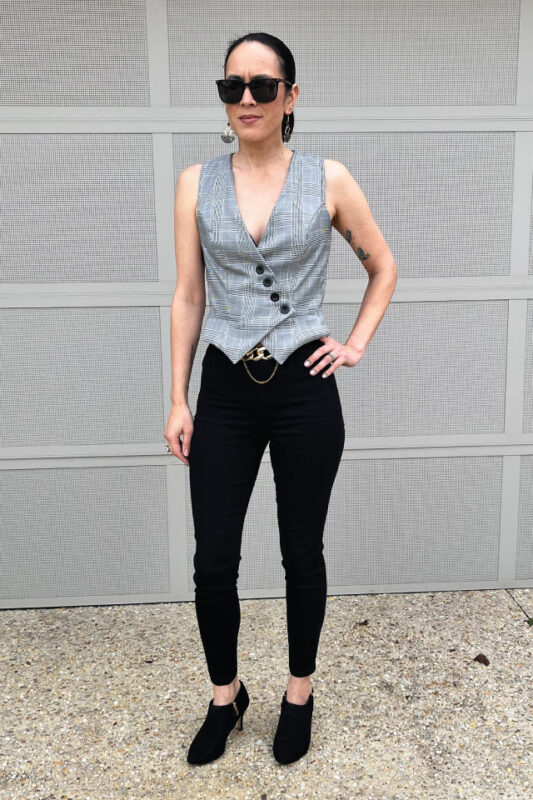
For my Pia Vest ( or what we call a waistcoat in the UK) I made a size 4 for the chest grading to a 5 for waist and hips. I keep seeing waistcoat / trouser sets trending and decided to pair mine with Estelle trousers. These two are the ultimate, fashionable combination. My fabric is a polyester fabric. Not too sure. It is from a local shop to me,
Waltons Fabrics.
When you begin on your Pia sewing project, i would make sure you clip nice and close to the corners of your welt pockets. Take your time and press well. It will give you a real nice finish. I definitely need more practice for my second Pia make!
I wanted the traditional style finish for my Pia as that’s the outfit design i wanted to achieve. My next is going to be the tie finish.
I did not really have to make any major alterations, just the one size grading. The choice of bust cup size helps reduce the alterations needed.
I have a family occasions coming up and will be wearing my set i’ve made and i can’t wait. Definitely a pattern to purchase as there are so many achievable looks. The style is trending high street stores and social media currently and you will be able to sew up a unique product with a custom fit in your very own style.

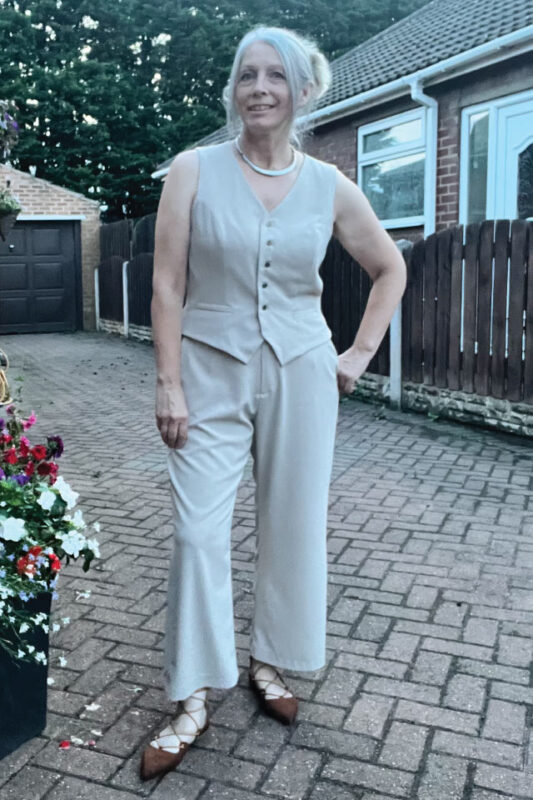
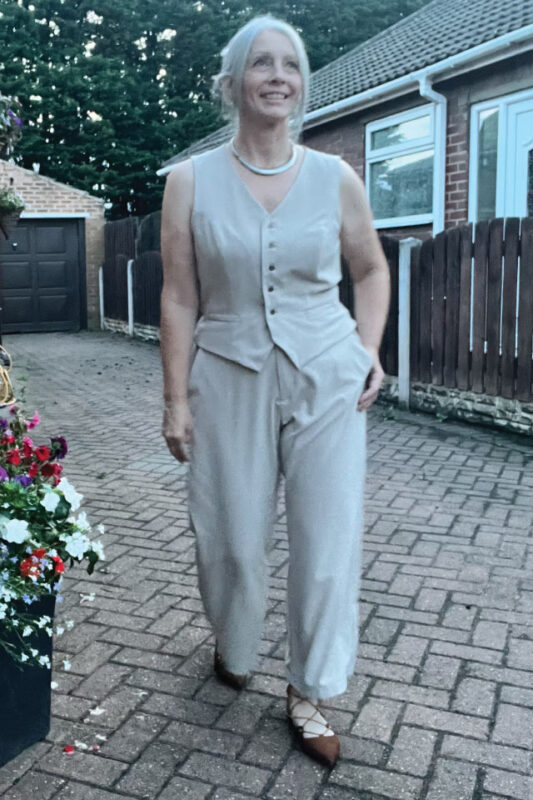
Hi, I’m Sara from Taranaki, New Zealand. I recently made the Pia Vest. My initial sizing was a 5-D, but I found I had to remove a significant amount from the bust, so a 5-C would have been a better fit. After three toiles, I achieved the perfect fit. I’m delighted with the result, especially my choice of this beautiful Italian silk/wool blend from Drapers. Given the cold New Zealand weather, I also sewed a long-sleeve top to wear underneath, and a linen version will be perfect for summer.”
I love this pattern ❤️

Vests/Waistcoats are all over the stores here in Vienna, it’s so on trend. Hi my name is Sophie. I’m loving the Pia pattern and have made two versions so far. For my first Pia, I used a linen/viscose blend and made the classic version to pair with my favorite Estelle pants. The combination is perfect for a casual day out. The second Pia is the buttoned crossover, and I used twill for this one – it definitely needed a sturdier fabric in my opinion. It’s just fabulous! I paired it with the Wren pants, and the overall look is really flattering. I think the Pia looks best on my body frame paired with wide pants or skirts, it’s so versatile. Can’t wait to make more versions and experiment with different fabrics and styles!