pattern tester roundup
Peyton Jeans Pattern Testers Roundup Part 2
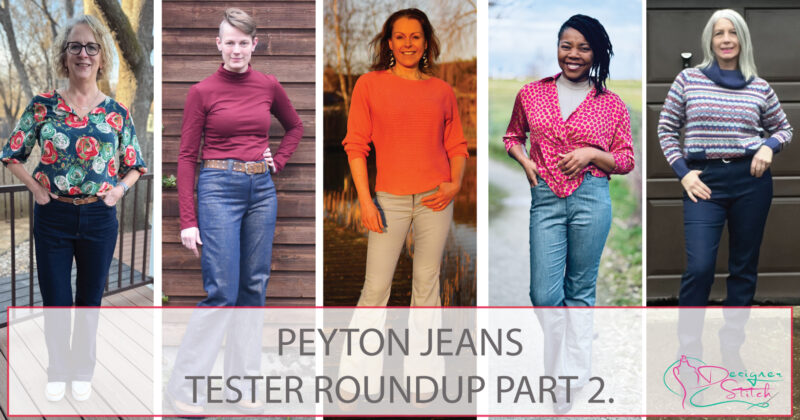
Welcome to part 2 of our New Peyton Jeans Pattern tester roundup.
It is just fabulous to see so many of our sewist community fall in love instantly with our new jeans pattern.
And who are equally in love with having contour and shape that makes their booty look a million dollars.
The placement of the darts gives maximum shape but also adds interest to the design with the ability to add lots of top stitching.
So without further ado a huge WOO HOO to Part 2 of our Peyton Jeans Pattern Tester Roundups.
Love and adore to all of our roadies.
They would like to share with you the following:
1. Your name and where you live ?
2. What fabric combinations did you choose and where did you purchase?
3. What sewing tips can you share when sewing the Peyton Jeans ?
4. What was your style choice for the Peyton Jeans ?
5. What fit alterations did you have to make to the Peyton Jeans ?
6. Have you worn your Peyton Jeans yet and what compliments did you receive.
7. Any plans for future combinations of the Peyton Jeans?
8. Social media URLS
And the finer details; (AU/UK) 6 – 30 (US) 2 – 26 (EU) 34 – 58
On Sale for a limited time only – $9.85
Very Confident Advanced Beginner and Above Sewing level.

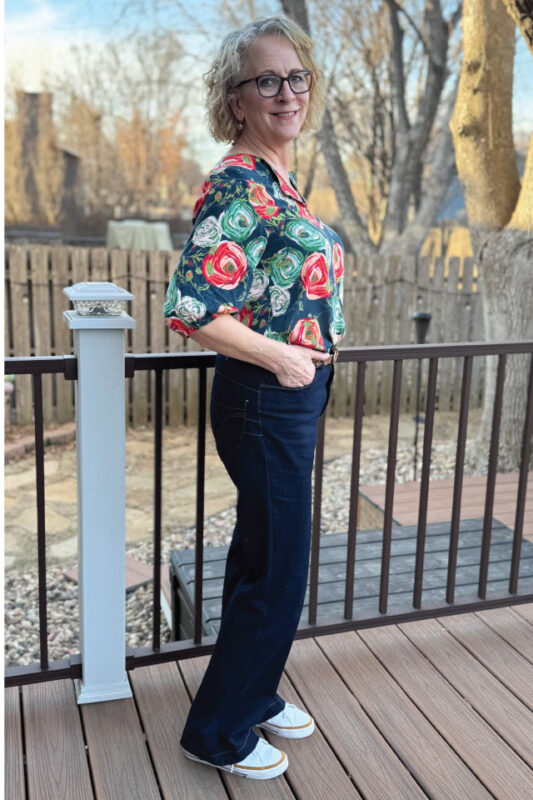
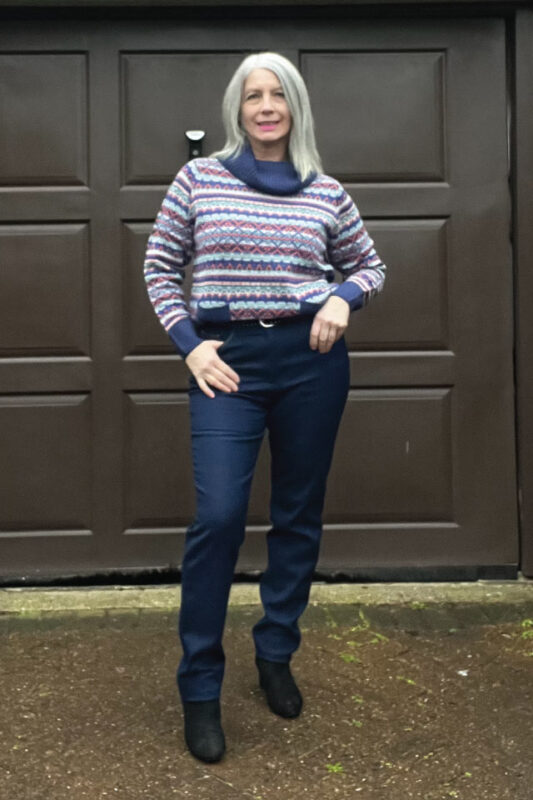
Hello! My name is Sue Glas-Parrott and I live in South Dakota. It is deep winter where I live and I was happy to be a part of this pattern test as I live in jeans, especially stretch jeans! When making these jeans, here are a few tips. Don’t worry, if you’ve never made jeans before, this is a great pattern to start with. Tip 1 is to prepare your denim. I always wash and dry denim 3 times before using it to take care of any possible residual shrinkage. There’s nothing worse than making a new pair of jeans and have them shrink on you! Tip 2 is that you absolutely have to make a muslin to tweak any possible fitting issues you may encounter while making these up. Tip 3 is to experiment with topstitching thread. When I made my muslin and completed my pants doing the sit, stand, squat test, my regular topstitching thread snapped! I experimented and found a thread with stretch that works great on stretch denim. I have worn my jeans several times and was complimented on how nice I looked! I’ve already ordered more stretch denim to make more of these fabulous jeans! https://www.threads.net/@sue_glasparrott
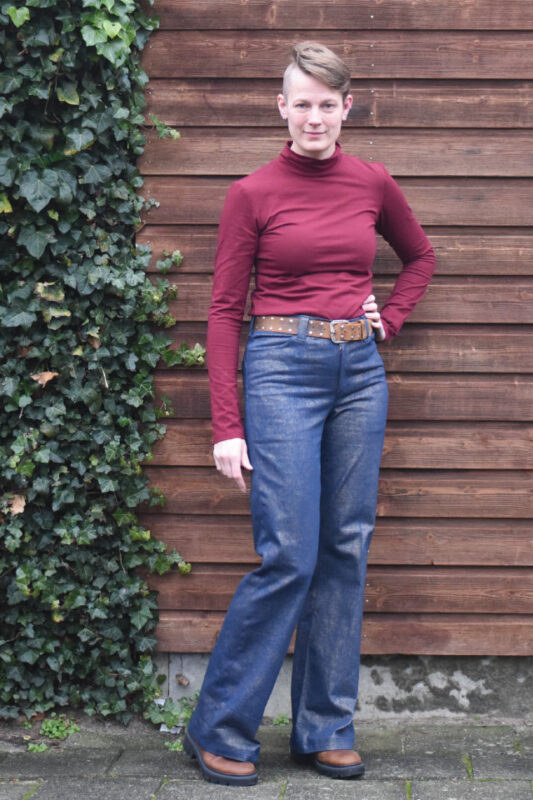
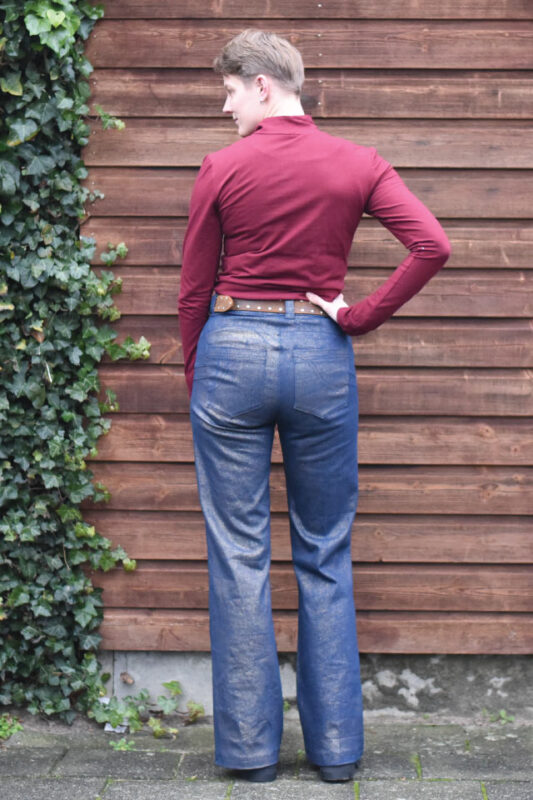

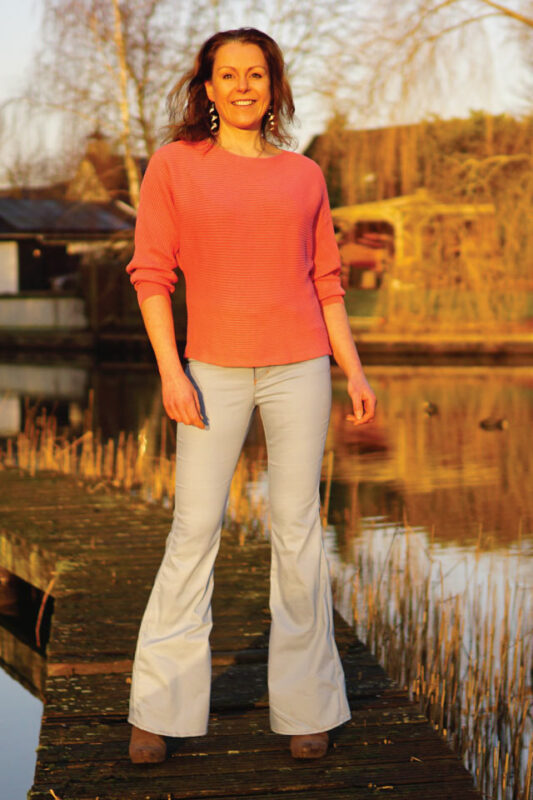
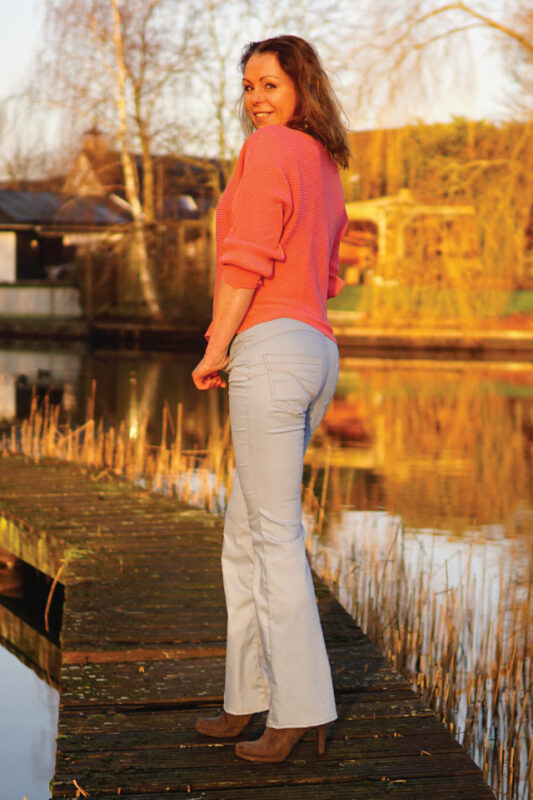
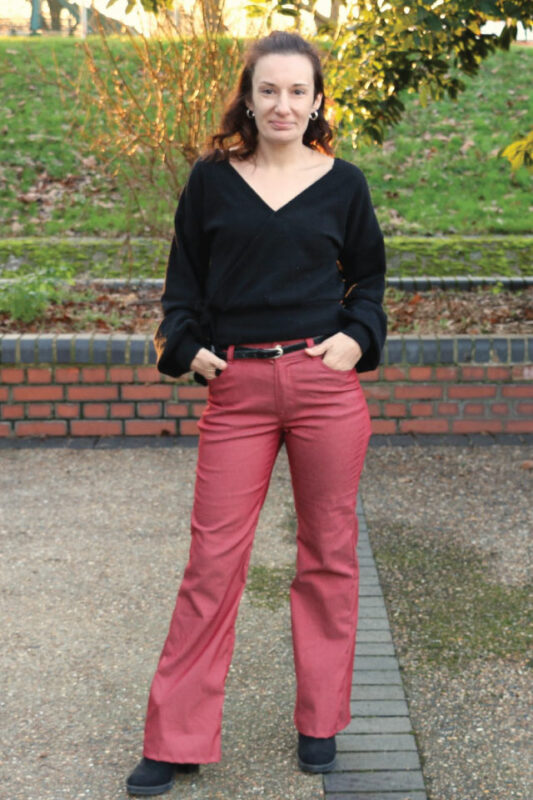
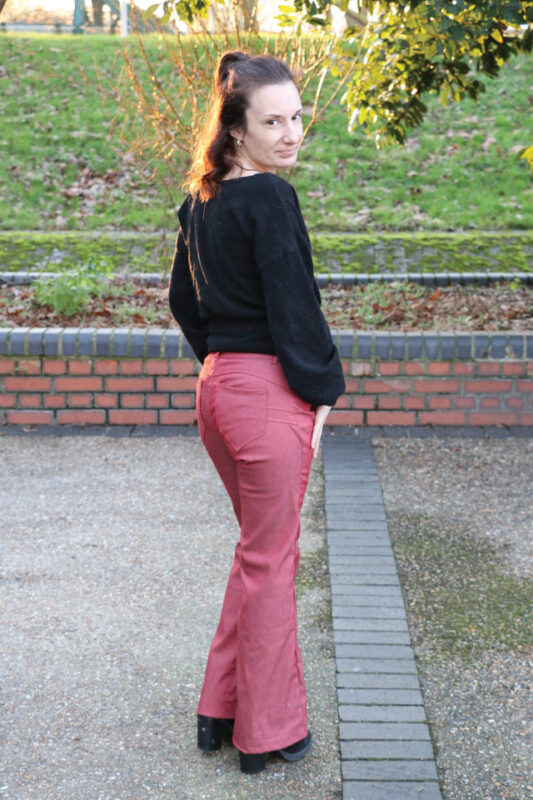
Hello Lovelies, this is Brenda from the Netherlands.
For this test I made 3 pair of jeans, each in a different colour. I love a wide flare so that is what I picked for all of these. I believe all 3 of the fabrics are from www.driessenstoffen.nl but I’m not a 100% sure about 1 of them. The Pants are all very comfortabel in wearing and I absolutely love hem. I always loved working with jean, partly because I enjoy a good topstitching.
For these pants I did my regular alterations for my rise (add to the back and reduce in the front) and I added length for my mile long legs.
If you want to see more of my sewing my instagram is: https://www.instagram.com/fabricfairybrenda/
Love Brenda
Hi, here is Marieke from the Netherlands.
Pants are difficult to adjust for a perfect fit as everyone know.
But as always Ann has her tutorials ready and when you have made pants before, then you know what to do.
I knew what to do and made my personal adjustments and used the correct fabric.
Tadaaaa! I have a new favorite jeans and I need a ton more!
You can always have a look at my Insta for more inspo: https//www.instagram.com/jongdesign

Sophie here! I live in Vienna Austria.
I love my Peyton Jeans! Those „hip/butt“ darts are so nice.
As usual with Ann‘s patterns, you will learn something new. Make a muslin and pay attention to the recommended fabric.
I’ve been wearing mine a lot and enjoy saying „ thanks, I made it too „
❤️
Hello, Ashley R here from London. Let’s talk about the new Peyton pants.
These pants are amazing! I used a denim with a little stretch from ABC Fabric.
Let’s talk about the fit: I would always recommend making a toile fit in similar fabric to work out what adjustments you need. The main thing is getting your crotch length right. I had to shorten my rise to get the perfect fit. This is one of the best fitting pants I’ve made to suit my body shape.
I made the bootleg style, which is perfect for letting your heels go under without showing. I’ve worn my Peytons a few times now, and they are very comfy and stylish. I plan to make more with the different leg options.
https://linktr.ee/madebyashley
Hello everyone. I’m Tina from Yorkshire here in the UK.
Did you every look at a jeans pattern and think that the pattern will be way too hard for your sewing ability? Well, having never made anything from denim or any jeans before, thats exactly what i did! However, i trusted in the well written pattern and instructions Designer Stitch produce and here they are! I’m so proud!
I used a traditional blue denim with the desired stretch and used a gold and navy too stitch thread. I made the regular leg version. My fabric was from
Waltons Fabrics a local supplier for me.
When you start your Peyton sewing journey, I suggest you take your time, especially with your top stitching. Get yourself a jeans needle for the job too. Pre wash your fabric for sure.
I made the size 5 from the measurements and the crotch depth was good for me. I just needed to shorten the leg length. The effect those back darts have on your bum shape are fabulous. I saw a testers Peyton without the pockets and i really liked them so may be my next pair.
I’ve worn my Peyton already and I made sure I told everybody I’d made them! I love them!
https://www.facebook.com/tina.darby
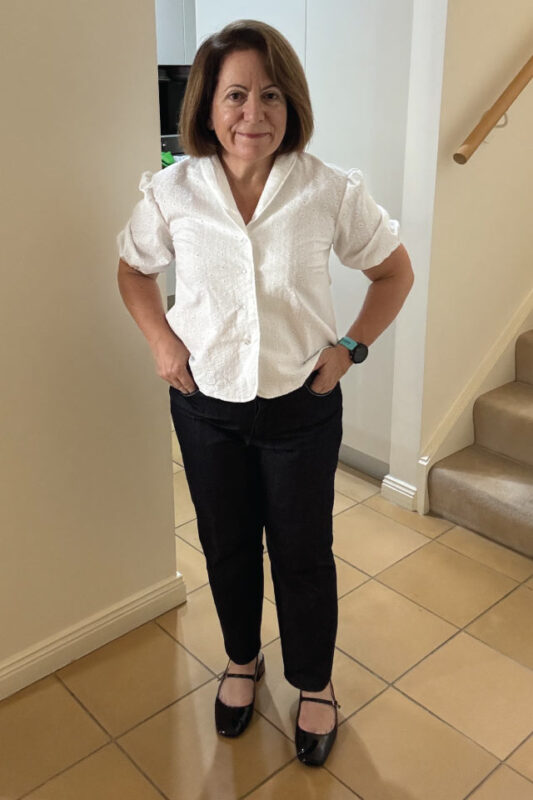
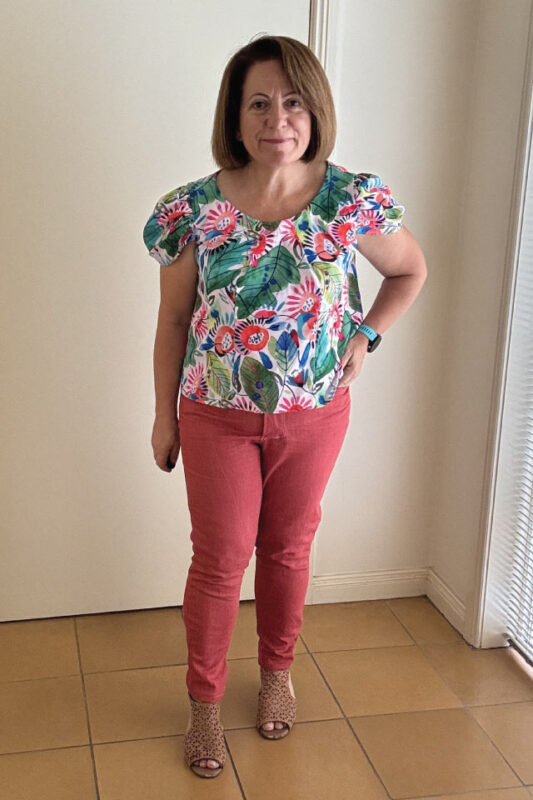
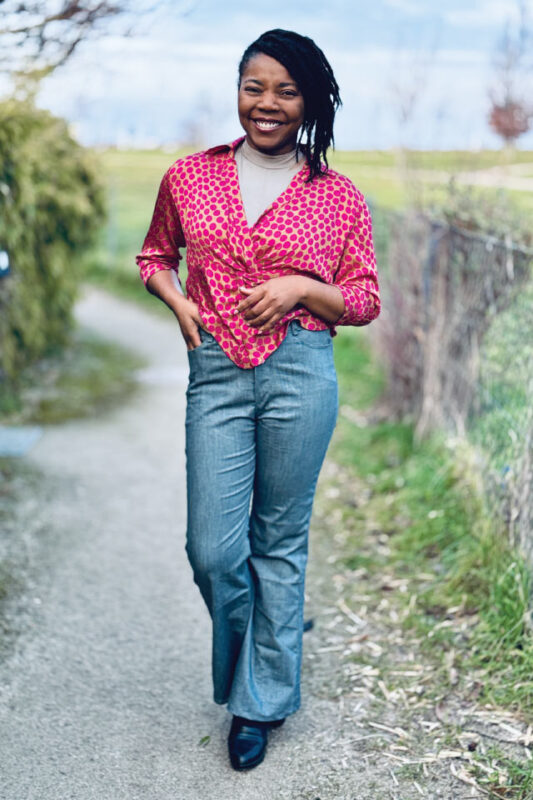
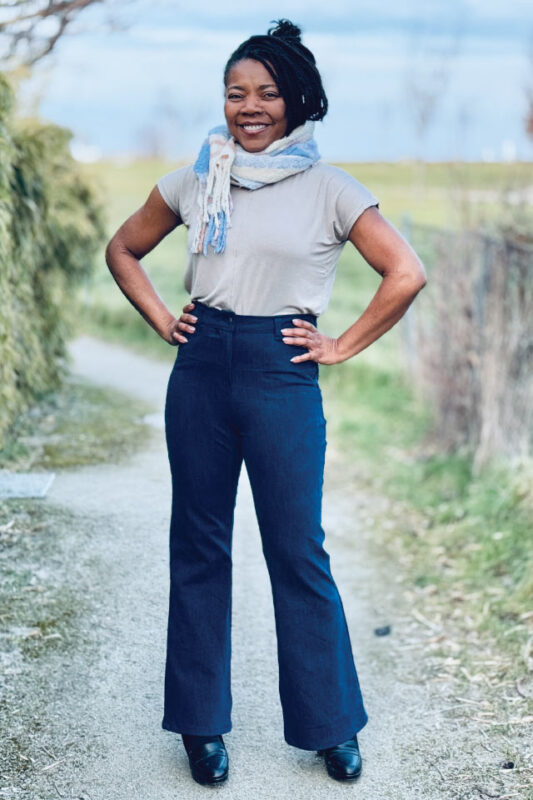
I’m Maria and I live in Sydney Australia
2. What fabric combinations did you choose and where did you purchase
My fabrics were in my stash and I bought them from Drapers Fabrics Sydney, Super Cheap Fabrics Melbourne and Lincraft in New Zealand
3. What sewing tips can you share when sewing the Peyton?
If you’ve not sewn a particular part of the jeans making process, try using sample fabric to check your understanding of the instructions.
I hadn’t sewn jeans in 5 years (or longer).
In the past I’ve always been fascinated with back pocket designs.
On these Peytons, I sewed the zipper front following Ann’s instructions.
As pattern testers we took a lot of time making sure these instructions were exactly what you expect to sew great jeans.
My other tip is test out the top stitching thread on a piece of your denim to see how it looks. Size 3 stitching length is what Ann suggests. This is industry standard and her experience is worth it.
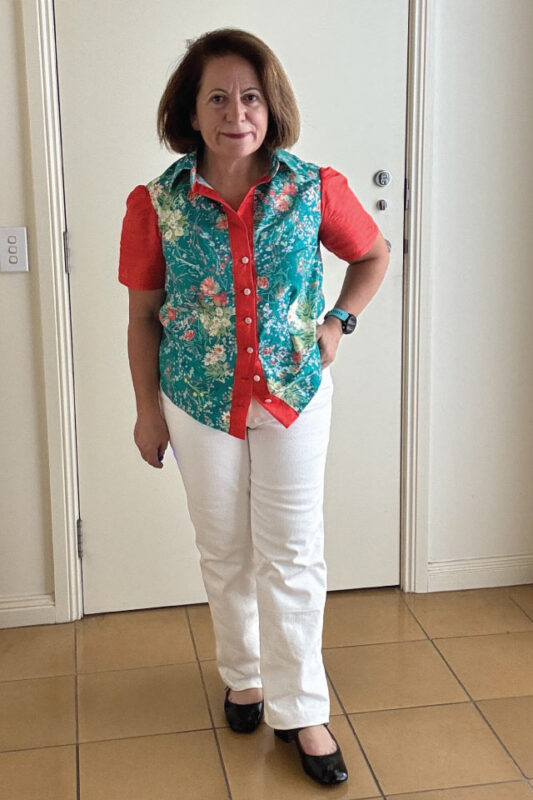
I get a bit scared with how the stitching looks so I did a test version, using a darker thread but not too stark a contrast. By the time I sewed the white jeans, I used a grey pearl poly thread and used stitch length under 3 length.
4. What was your style choice for the Peyton ?
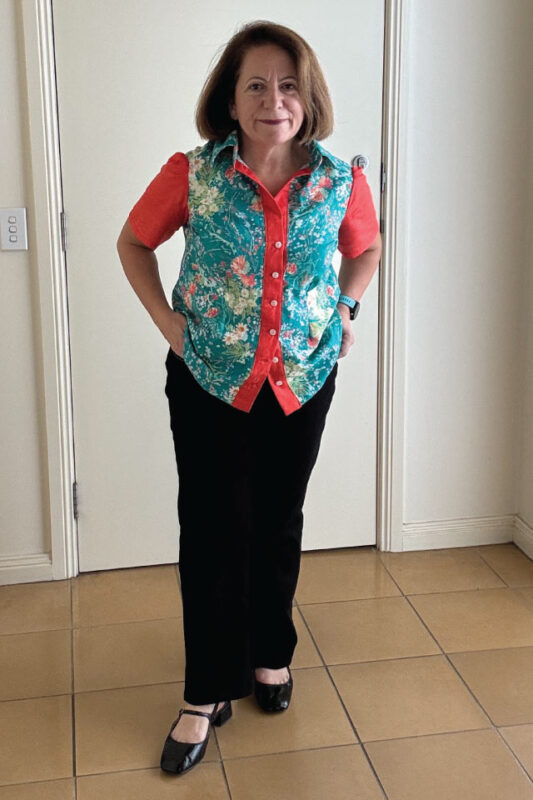
I sewed the boot cut version and the skinny jeans version.
I used size 5 so I could size it up or down depending on the stretch in the fabric.
5. What fit alterations did you have to make to the Peyton ?
These are all alterations I did with Ann’s advice after seeing my test version. She’s really generous with her knowledge.
Shortened the centre front seam by 4cm so the zipper length is 12cm long.
I did a 2cm sway back adjustment at centre back – 2cm out of the yoke; I took 2cm out of the top of the centre back and zeroed it to the base before the tushie curve starts
I also took out 4cm from the pocket fabric length. I found the pockets were too long for the front of my jeans body.
Initially shortened the leg by 5cm but later shortened the length by another 5cm so 10 cm in total length.
I shortened the back pockets by 2cm as well.
Once I tried on each pair of jeans, I took out up to 1cm or more on the outer leg from mid thigh to mid calf on the skinny jeans version.
The last piece of the jeans I cut out was the waistband. Why? Before sewing on the waistband, I did a fit check of each pair of jeans. The percentage of stretch can really make you feel like your don’t know how to sew.
You do know how to sew but the fabric stretch is that fabric variable that can play with your mind and question your sewing abilities.
6. Have you worn your Peyton/s yet and what compliments did you receive.
I can say for certain that my husband has a lifelong appreciation for jeans wearers. Throughout the sewing process, when I asked for his opinion he had to be asked twice, cause he loves the look of the Peytons on me.
He thought it was hilarious that I was asking his opinion from a sewing perspective. Blokes. They’re such fun to have around.
7. Any plans for future combinations of the Peyton?
Now that I’ve sewn 4 very wearable Peytons and one rookie non-stretch Peytons, my denim jeans stash is gone and I don’t need to make jeans again…for a while.
Honestly the rookie version really needed extra side seam room and I added another 5cm to the waistband.
8. Social media URLS
Blog Velosews – What Maria sews
( https://velosews.com/)
Facebook
IG Maria – I sew (@velosews) • Instagram photos and videos
( https://www.instagram.com/velosews/)

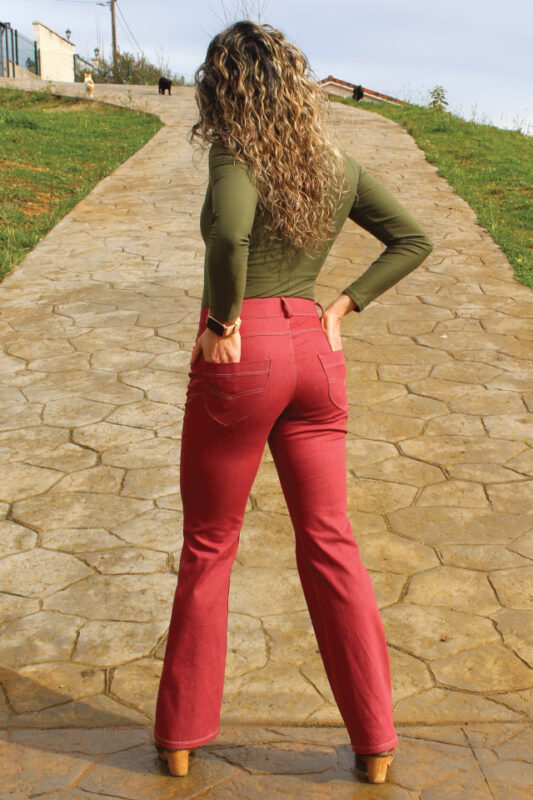
I’m Merce from Asturias (Spain). I made the bootcut style and used a stretch denim for my Peyton Jeans from www.mimediopatron.com. It’s important to choose the right fabric and follow the instructions to achieve the perfect fit. It was my first time sewing jeans, I was quite intimidated and out of my control zone. My advice is to make a muslin first and follow the adjustment instructions. I had to blend two sizes and shorten the rise, it was the most difficult part for me, however the result is awesome and worth it. I will never buy jeans again!
You can see my version here: https://www.instagram.com/mi.medio.patron