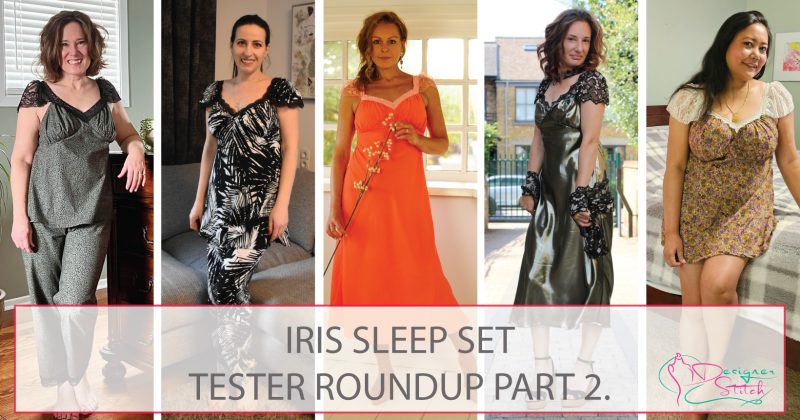
pattern tester roundup
Iris Sleep Set Pattern Tester Roundup Part 2
Hello, my friends – we continue our roundups for the Iris and all that is wonderful about the new Iris Sleep Set.
As you will read our roadies used a myriad of print and plain fabrics for the base of their Iris Sleep Set – and then built the design up further by adding the most divine stretch laces you can find – and they must be DEVINE – as they are the proverbial “icing on the cake” for the new Iris.
There really is no limitation to how you can make this most glorious sleep set.
The new Iris Sleep Set is just the most divine make. And it just in time for you to make it for your very own on Valentines Day.
So, let’s continue our tester roundups for the new Iris Sleep Set.
And if you haven’t read Part 1 of the Iris Pattern Testers Roundups here is yesterday’s link.
Love to you all.
And todays roadies would like to share with you the following:
1. Your name and where you live?
2. What fabric combinations did you choose and where did you purchase.
3. What sewing tips can you share when sewing the Iris?
4. What was your style choice for the Iris?
5. What fit alterations did you have to make to the Iris?
6. Have you worn your Iris yet and what compliments did you receive.
7. Any plans for future combinations of the Iris?
And the finer details; (AU/UK) 6 – 30 (US) 2 – 26 (EU) 34 – 58
Cup Size Choices – a, B, C, D and DD
On Sale for a limited time only – $8.95
Very Confident Advanced Beginner and Above Sewing level.
Iris Sleep Set

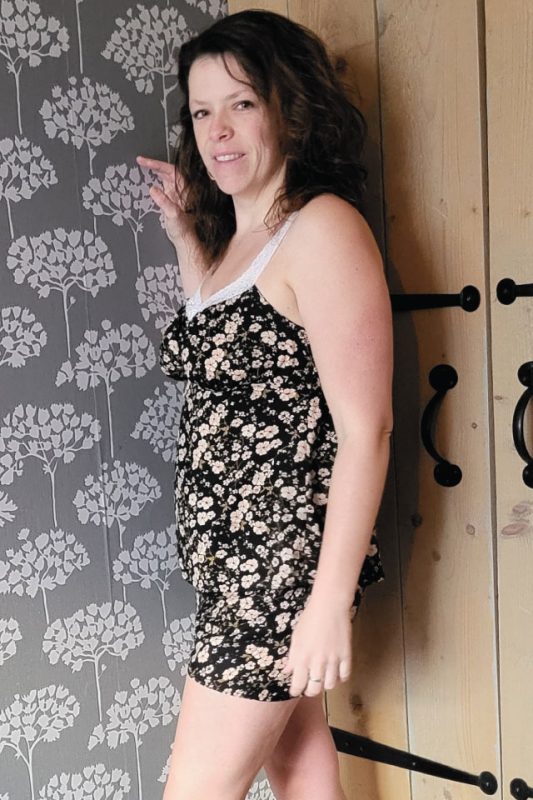
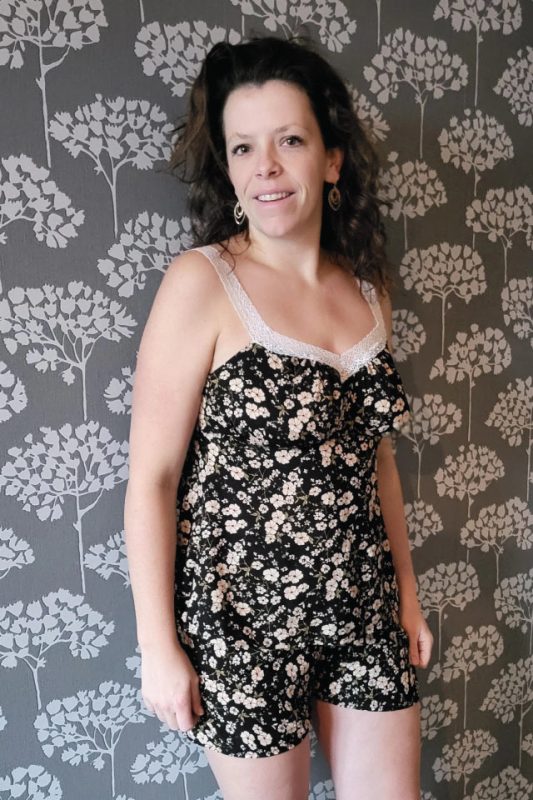
Hello Everyone, I am Priscilla from Illinois and love to sew.
If comfort and cute sleep dress is something you love to wear, look no further, the Iris slip dress is the one❤️.
I’ve made Iris slip dress with this pink crepe fabric (60 cm length) and lace sleeves, and love how this dress hugs my body and yet so comfortable. I love my first one so much, I made another one in this floral georgette fabric with lace sleeves. Both these dresses will be well love this summer .
My tip is to make sure u measure twice and cut your size. Also don’t forget to pin slippery fabrics and work slow .
In my opinion, Iris slip dress can also be a perfect Valentine slip dress with the right fabric .
Find me with all my creations at
https://www.instagram.com/prisci4/
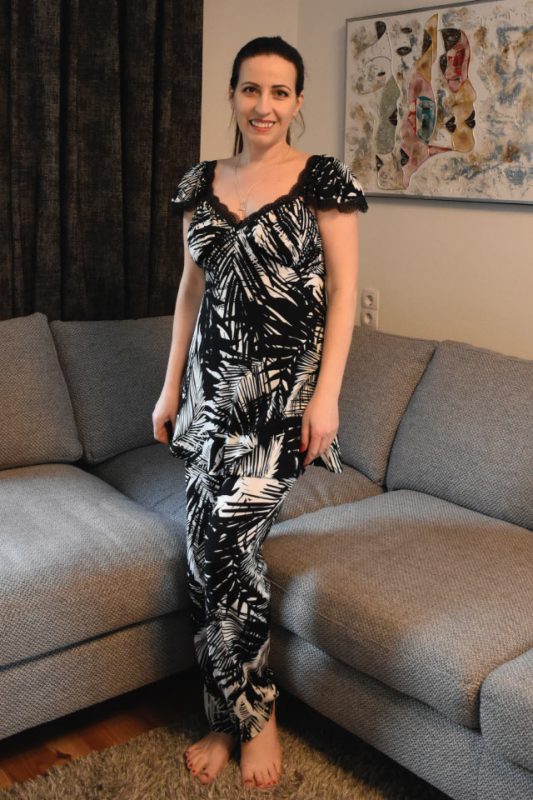
I am Synthia from Ca. I enjoyed sewing up the Iris design, I made the tea length gown. I enjoy Boho style garments as the Iris reminds of a Boho style gown. I made my Iris from a rayon challis fabric, very light and comfortable to wear as a night gown or out for a summer day. Iris is a simple garment to sew up, I did sew up a muslin for the bodice to get the fit right for me. Tips for the Iris, sew a muslin, it really helps in getting the bodice to fit properly. A fun and great design Ann.
https://sewsynsewn.blogspot.com/2023/
sewsynsewn on FB
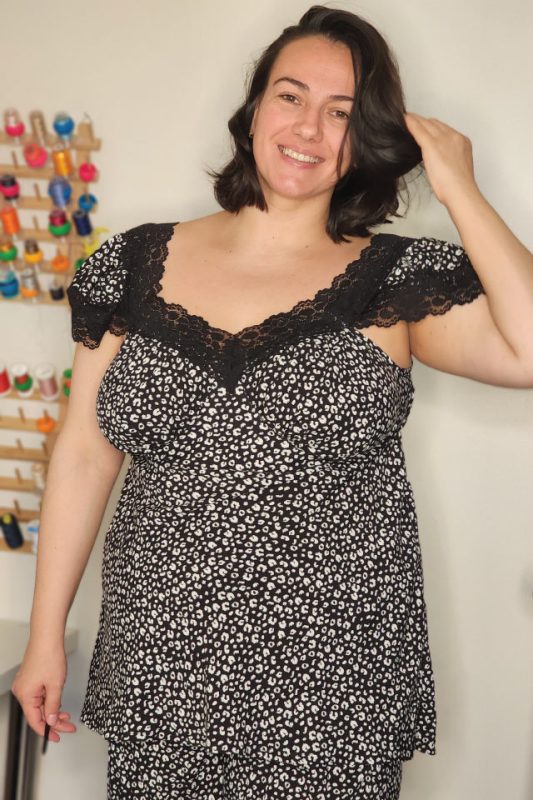
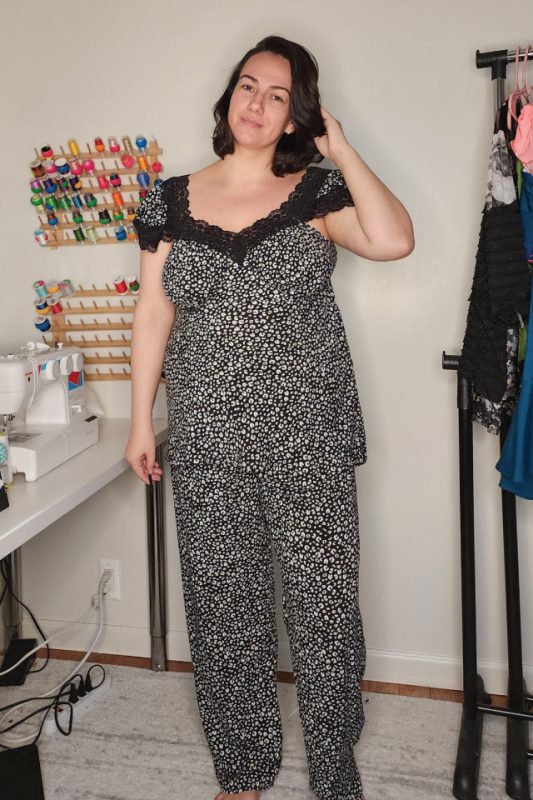
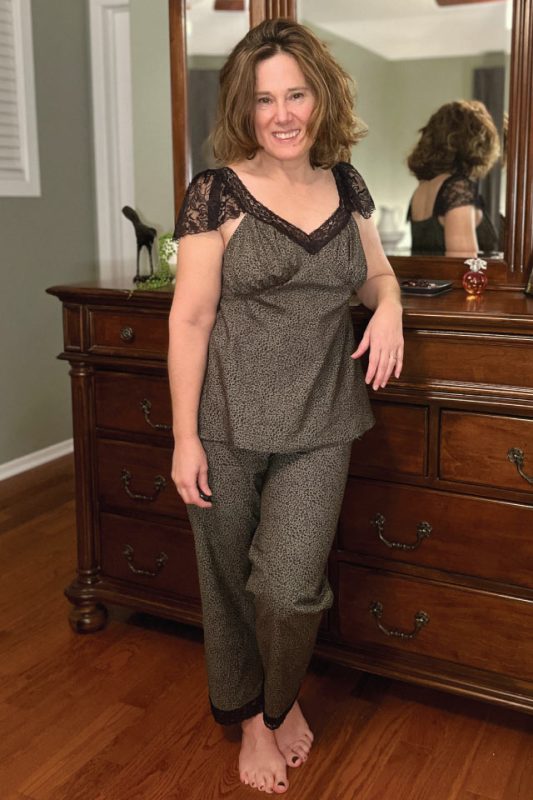
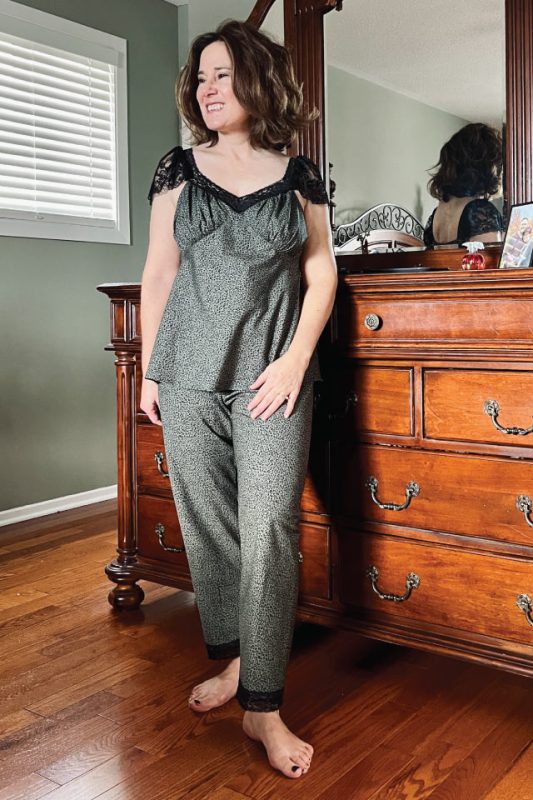
Hi, my name is Ksenija and I currently live in New York city.
This test was such a delight! I bought printed rayon fabric and black lace in the local fabric store in Astoria, it is my go to for all the tests especially.
Since I couldn’t find wide enough scalloped lace to go with this fabric I decided to play with the lace I used for the straps. So if you’re in the same situation, just cut your sleeves from the same fabric as the rest of the garment and add thiner lace to the bottom edge, it looks great.
I decided to make cami version with the pants so I can have a nice cozy but also so flattering pajamas and my partner loves it!
I’m probably going to make a slip version as well but maybe using some more sheer fabric. Not for everyone’s eyes
You can check all my past and future makes on my Instagram account https://www.instagram.com/a_girlwithanaccent
Hello everyone, Camelia here with my version of the Iris set. I made the gown and a camisole with long pants set. The Iris is such a beautiful pattern, and having all those lace bits makes it so much fun to make. I made the gown in a viscose satin twill and the set in a challis from Minerva. The fact that the gown/camisole is cut on the bias, makes it such a nice garment to wear.
When making your own Iris, just make a test garment to get the right fit, the pattern comes with cup sizing so that will help a lot too.
Don´t forget that with this set there is also a pair of pants included, very cool ones. No side seams!! These are just awesome and will be perfect to make as “street” pants. The pants have no side seam, but they are not cut on the fold! You will get your proper front and back crotch, and get a beautiful fit.
You can find my full video review on my YouTube channel, including my best tips on making a gorgeous Iris set
https://www.youtube.com/calcedoniasewing
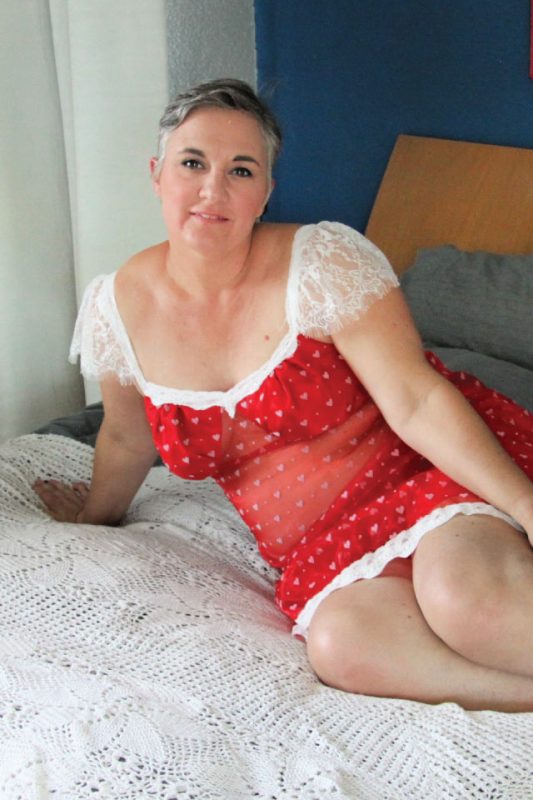
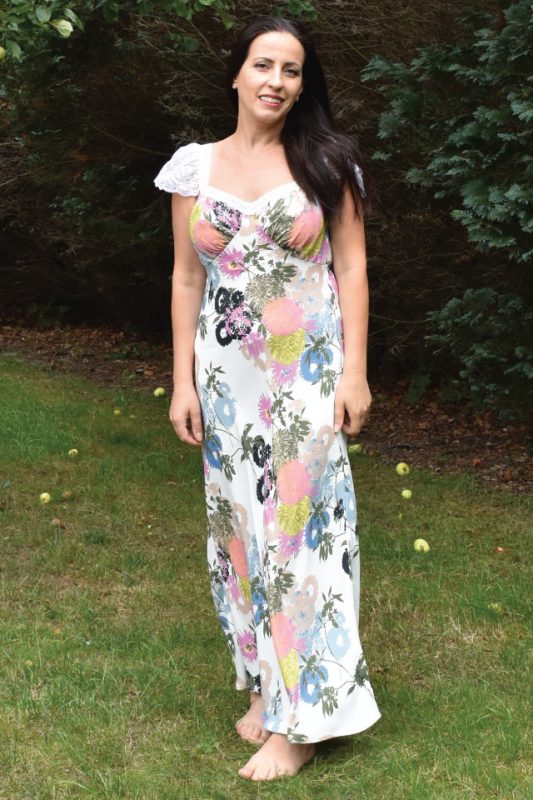
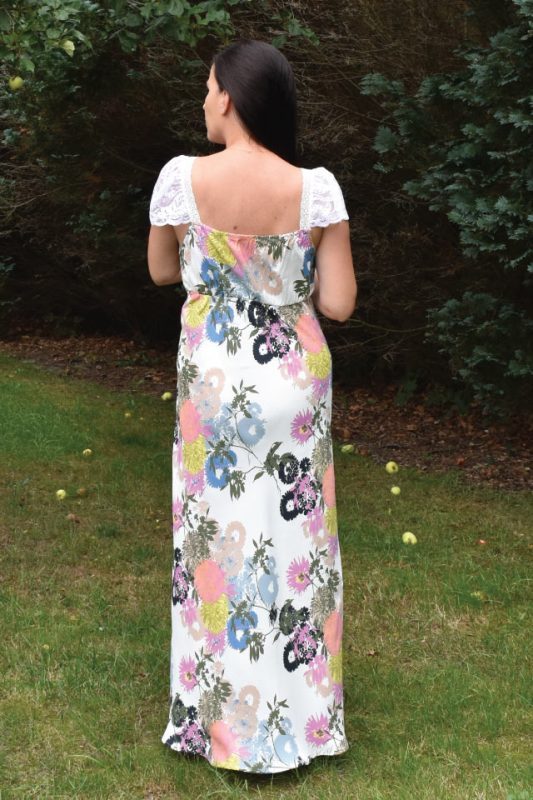
Greetings to all. My name is Taryn from Cape Town, South Africa. I have managed to collect a fair bit of printed satin over the years and so my first port of call was my own fabric stash. While working on my first satin Iris (slip length), a piece of heart-flocked organza left over from a previous project caught my imagination and insisted that it be transformed into Iris. (I did have to go a little rogue with this one as the hearts were directional so it would not have worked cut on the bias). The only purchase I had to make was the stretch lace and wide scalloped lace for the sleeve. My top tip would be to take your time when working with a satin (read as slippery) fabric. I sewed both the slip version (60cm length) as well as a custom length (in between the original cami and slip lengths based on fabric availability). I cut the pattern taking grading into account for the first and for the second, shaved a little from the centre front and added a bit to the cup pieces for a better fit of the cups.
Iris has been a welcome addition to my summer sleepwear options checking the elegance and style boxes while also being comfortable. And while its not the kind of item I will be parading around town in, I have, on a few occasions, indulged in a little self-care at the end of a long day and spent the evening lounging around in Iris. And with that, I think it might be time for another such occasion. Keep an eye on what I get up to next at www.instagram.com/creatazzly or www.facebook.com/creatazzly

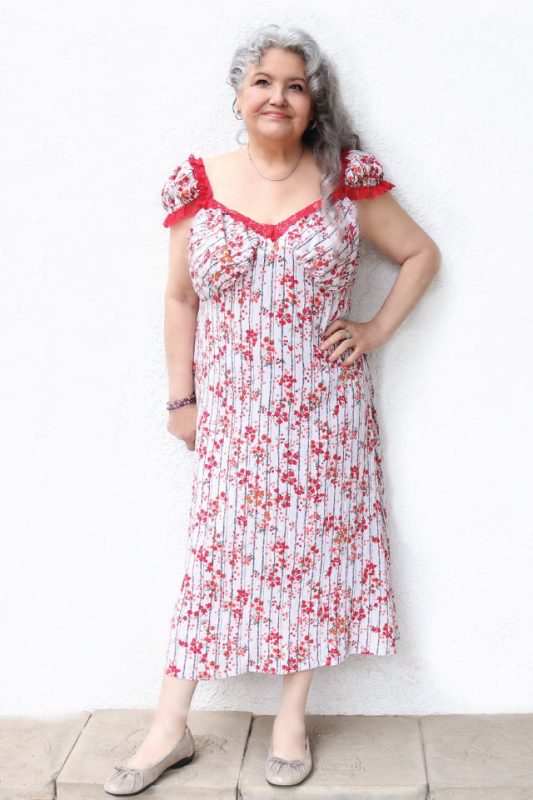
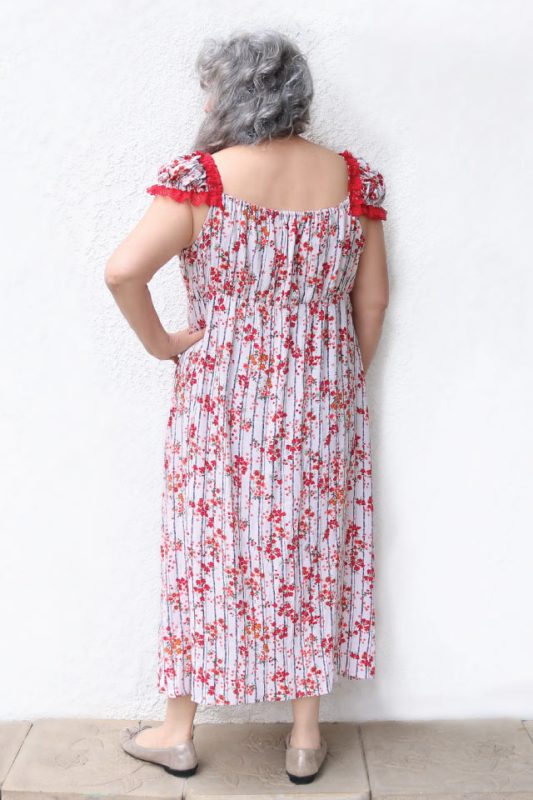
hi! My name is Sue Parrott and I live in South Dakota, USA. I knew that would I would love the Iris the minute I saw it. I know a lot of people chose satin or similar fabric for their make, but I simply love the feel of rayon. I have quite a bit of lace trims and had some fun playing with fabric and trim combinations.
This is a fun make! Mark your notches carefully, read Ann’s instructions, and you’ll end up with a gown you love!
I always let my bias cut garments hang overnight and if there’s any irregularities in the hem, you’ll see them immediately!
I love the feel of this gown. You can find more of my makes at: https://www.instagram.com/sue_glasparrott...
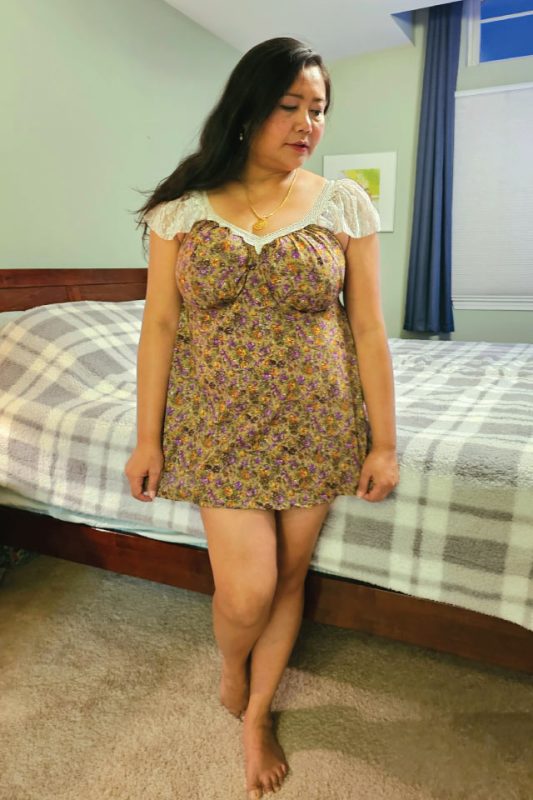
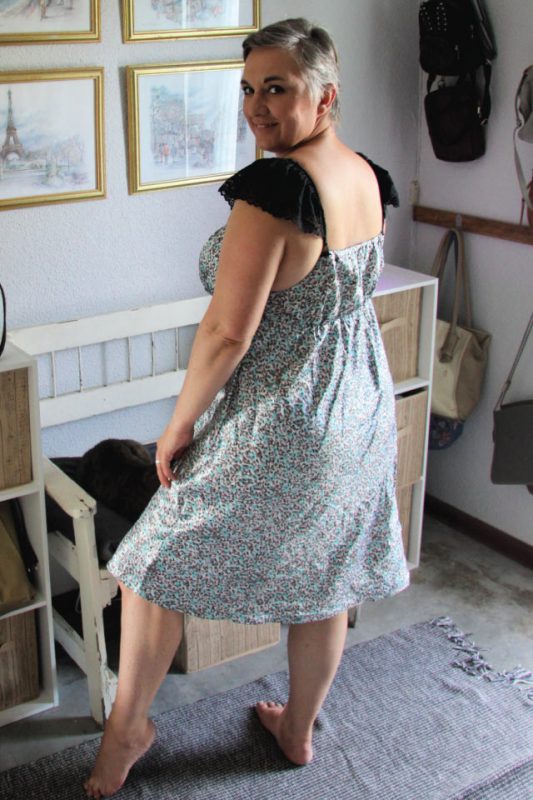
hi, I’m Josée from Canada. I decided to make the Iris out of woven cotton with all the lace trims. I chose cotton because it was my first time sewing lingerie and I wanted to have fabric with minimal fraying especially since many pieces are cut on the bias which can shift with slippery fabric. I made the short camisole with ankle length pants. It was such an easy sew with few fabric pattern pieces to handle; I’m ready to do my next Iris with a moss crepe. The only alteration was shortening the cami for my height and taking in the centre front a tiny bit between the cups. It’s a cute and fun lounge wear. The cami is comfortable with a lovely rushed gathered cups. It’s a very versatile pattern given the many length options including for the use of lace or fabric or both. I also opted to add a lace feature to my back pockets.
About the pants, they are cut on the bias which was another first for me. The fabric when cut on the bias has a completely different feel and drape than when cut with the grain – the weave relaxes and the fabric hugs the skin more. I love that the side seam has been eliminated from the pants to create a streamline look that won’t interfere with the bias cut. I’m very tempted in sewing another pair in drapier and softer fabric for a more fluid look with slightly more room over my thighs.
Two tips when cutting and sewing the Iris:
1) Cut bias pieces in a single layer.
2) Make sure to keep the gathers between the notches especially at centre front to ensure the rushing remains vertical. Use two rows of basting stitch and adjust them as you sew.
For more of my makes, have a look at my Instagram account
https://www.instagram.com/couds_moi_ca/
Hi, my name is Jackie O from the Netherlands and I love to sew. If you want a good looking and comfortable sleeping set, you don’t have to look further.
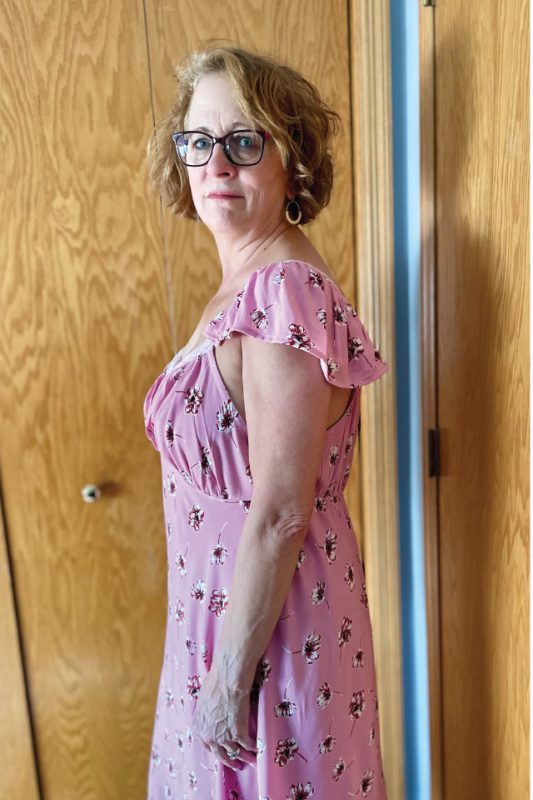
Iris is the perfect combination of a flirtatious set but a relaxed fit. Be sure to look up your correct sizing in the sewing instructions and it will turn out just wonderful. I did my usual sizing but shortened the top by 6 inches (I guess it will now be a standard line in the pattern now)
Enjoy this pattern from this wonderful designer.