Tutorial
Perfect Patch Pockets Every Time
A big sewing hello to you today from Melbourne Australia. Thank you for joining me on day 7 of our blog post series featuring the Sedona Shirt Dress.
 And I hope you have enjoyed reading the others in the series.
Day 1 – Sedona Shirt Dress Inspiration and Influences Post.
Day 2 – Sedona Shirt Dress Tester Roundup Part 1
Day 3 – Sedona Shirt Dress Tester Roundup Part 2
Day 4 – What is a Concealed Button Wrap – which is one of the main features of the Sedona Shirt Dress PDF sewing pattern.
Day 5 – How to Create a Separate Button Stand on the Sedona Shirt Dress
Day 6 – The Correct Position of Buttons and Buttonholes – including vertical versus horizontal buttonholes.
Today I am going to detail to you the very easy method of making your own Perfect patch Pockets – yes – EVERYTIME.
The below method has largely been influenced by the mass Ready-To-Wear market.
I have worked for many large manufacture enterprises that would produce upwards of 2 to 3 thousand garments in a single style. And let me say – walking into a factory where all these identical garments are lined up on racks – it was very hard to spot one that wasn’t identical to the other. Sure – there will be manufacturing faults – as this is human nature – but the below technique was one that is used extensively.
Mass manufacture is dependent on time and motion – the quickest process and outcome possible in reflection to the wholesale cost of the garment (per unit). Each machinist within their line has a specific task to do – in this case it will be the patch pocket- making the pocket – and possibly – stitching it to the body.
So today I am going to show you how to set up your patch pockets so you get identical shapes. The Sedona Shirt Dress has 2 patch pockets on the front body – but with this method you could make 100 pockets if you wish – and they will all be the same PERFECT shape

The above pic is the Sedona Shirt Dress with patch pockets and is made and modeled by our gorgeous Jenny B.
(please note that all edge finishing would have been completed on pocket perimeter before commencement of these steps)
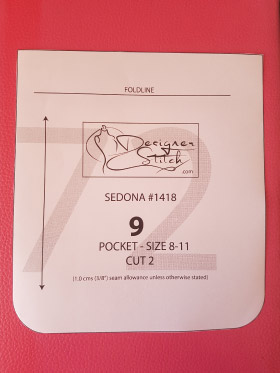
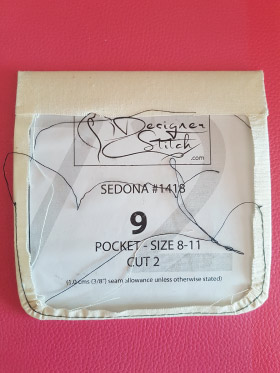
Step 1. Print and cut out the patch pocket pattern piece of your Sedona Shirt Dress.
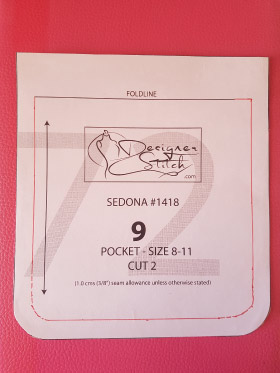
Step 2 . Print off another copy of your patch pocket and mark around your seam allowance to the indicated fold line. Here the seam turning is 1cms (3/8″)
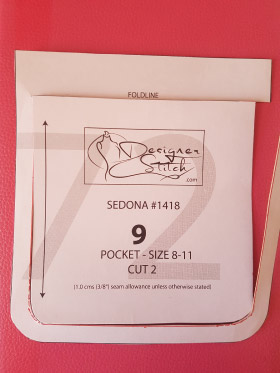
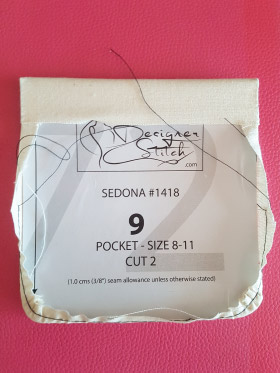
Step 3. Stick your second copy of your patch pocket to some light weight cardboard. I used the outside box of my Weeties cereal. This will now be your pocket template.
Trim of the seam allowance (to the inside of the printed line) of your second copy of your pocket in preparation of the following steps.
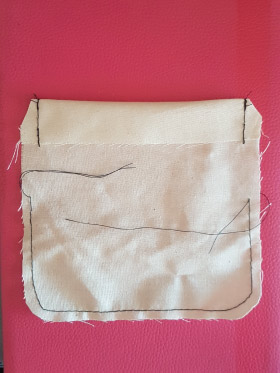
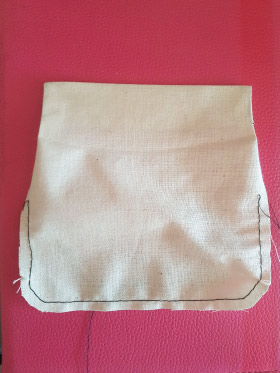
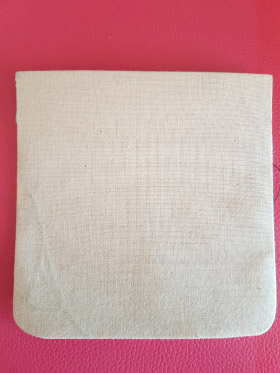
Step 4. Working with the cut fabric pocket piece – with wrong sides together press the top fold line of the pocket.
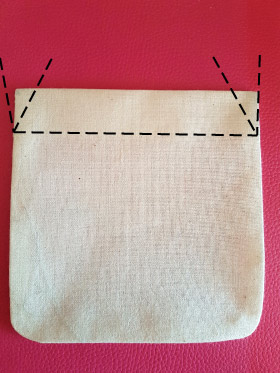
WRST fold back the top facing on each side and pin in place. Stitch just the length of the facing. (as above pic)
Halfway down the side of the cut pocket piece – around the curve – and across the bottom – sew a large straight stitch just inside your indicated seam allowance. Here mine is approx 8mm (just under 3/8″) Make sure you leave thread tails at each end to aide in pulling up.
(as above pic)
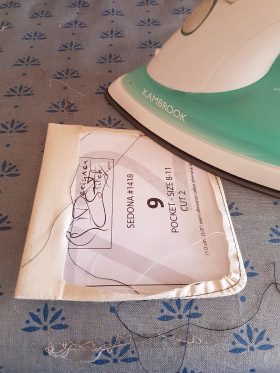
Step 5. Turn top edge right sides out and press top and sewn edges only.
Step 6. Insert your pocket template into the folded facing and line up your template so you have it equally positioned within the cut pocket piece.
Pulling on your thread tails ease along the stitch line and start to slightly gather your pocket edge. Pull enough so the cut edge starts to fold over the edge of the pocket template but not so much as it starts to gather your pocket edge. Play around with the stitch lines and ease and pull until you have your cut pocket edge completely folded over the edge of the template.
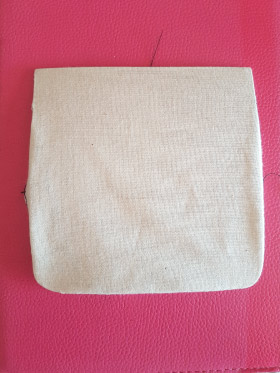
Step 7. Turn pocket over to the correct side. Ensure there is no obvious gathers around your pocket edge and adjust accordingly.
Step 8. Press entire pocket edge.
Step 9. Voila !. A perfect curved pocket edge – remove the template and then you can repeat this exact process for the other side. In fact you could produce 100’s of these and they would all be the same.
Step 10 . Stitch across facing edge as normal and then continue to apply pocket to front body of the Sedona Shirt Dress.
How is this an industry technique ?
The above step process is modeled on what happens in mass RTW. They have a myriad of pressing templates – various shapes and sizes – that are used for this type of technique – and are largely automotive these days. A machinist doesn’t have the time to hand turn a pocket and then set it on the garment. The pockets come to their station already pressed – the presser uses the template to shape the pocket but they don’t use the long stitch to gather as I have detailed above. The manufacturers use templates that are specially made for them and are heat resistant.
And thank you again for joining me in this series of blog posts centreing around the gorgeous new Sedona Shirt Dress PDF sewing pattern release.

Until next time xx
Cheerio
Ann at Designer Stitch.
Oh – ps !!!…. The finer details : On Sale for a limited time only – $8.75 (US)
multi-sized pattern – including Cup Size B thru DD (E) :
(AU/UK) 6 – 26
(US) 2 – 22
(EU) 34 – 54
Intermediate Sewing Level.
https://designerstitch.com/shop/sedona-shirt-tunic-dress