pattern tester roundup
Romy Pattern Tester Roundup Part 1
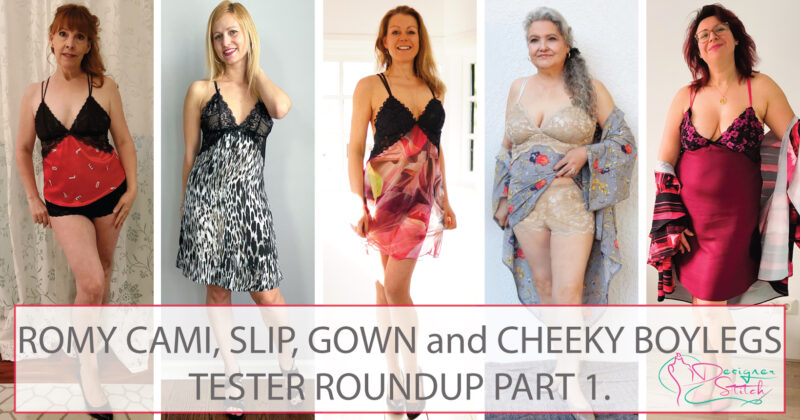
Hello my friends and I am so pleased to start showcasing our new Romy and all of her wonderful pattern testers – The Romy Cami, Slip, Gown and Cheeky Boylegs Pattern Tester Roundup Part 1 💗
The Romy is such a fabulous combination and is the just the most perfect VALENTINES sew.
Offering either a cami, slip or gown along with cheeky boyleg briefs the Romy will suit everyone – and I mean everyone.
The Romy allows you to choose the most luscious and sumptuous of laces and fabrics to enable you to make an amazing one-of-a-kind combinations.
I think the hardest part of making the Romy is choosing which colour combination you will choose.
My advice? Purchase all of them and sew many combinations of your Romy as I know they will be in steady rotation in your boudoir. 😉
So lets give a shoutout to our roadies in Part 1 of the Romy Cami, Slip, Gown and Boyleg roundup. All stunningly glorious. Love to you all. 💗
They would like to share with you the following.
1. Your name and where you live?
2. What fabric combinations did you choose and where did you purchase.
3. What sewing tips can you share when sewing the Romy?
4. What was your style choice for the Romy?
5. What fit alterations did you have to make to the Romy?
6. Have you worn your Romy – and if not what plans do you have for your dress?
7. Any plans for future combinations of the Romy?
And the finer details; (AU/UK) 6 – 30 (US) 2 – 26 (EU) 34 – 58
On Sale for a limited time only – $9.95(US)
Very Confident Advanced Beginner and Above Sewing level.
Romy Cami, Slip, Gown and Cheeky Boyleg

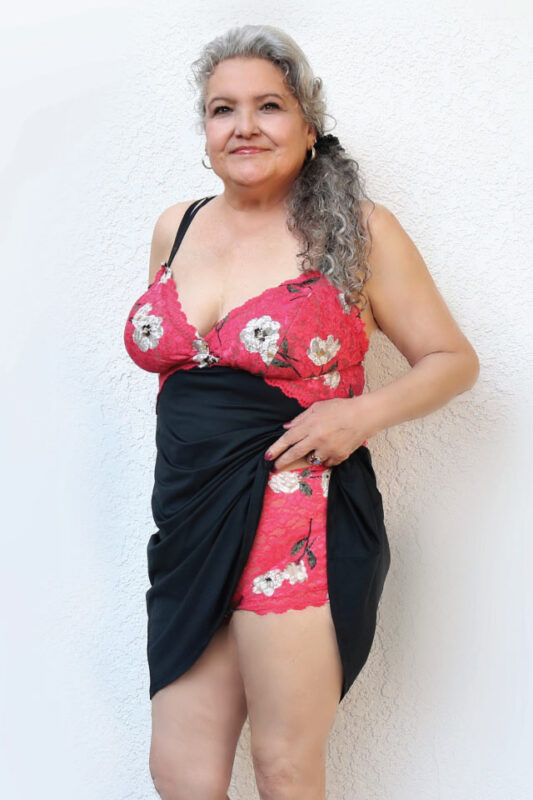
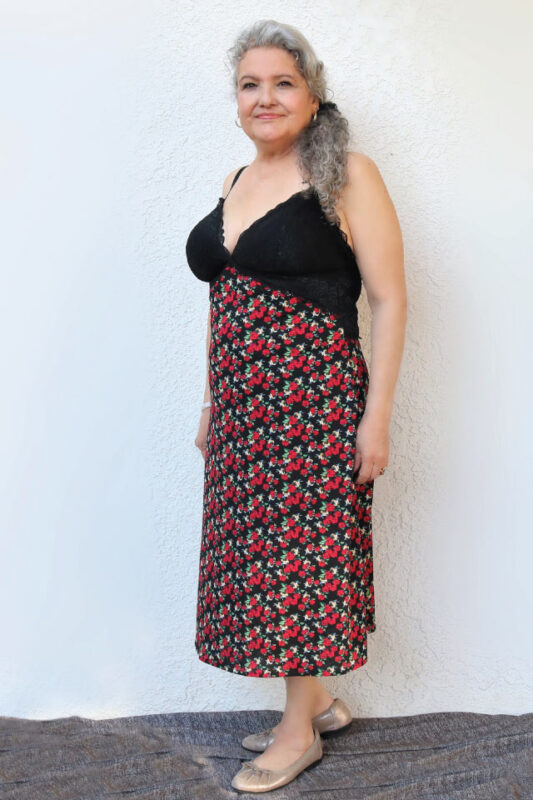
My name is Synthia and I live in Central Ca. Can I just say how much I love the Romy design, very nice for the upcoming Valentines, or any time. I made the Romy slip in a longer gown version. I used lace and rayon challis. I made a cami and boy short set and paired with the Willow cover up. For this set I used lace with peach skin. For my last set, I used pink lace with black satin type skirt. All my Romy sets have the matching boy shorts too. Once you follow the step by step instructions on how to measure your body to obtain your fit, you sew up a muslin for proper fit. You may need to tweak your fit here and there until you’re satisfied, take your time. I love how my 3 sets turned out, so did my photographer, and maybe even the looky loos, lol. Another great and fun design DS.
https://sewsynsewn.blogspot.com
https://www.facebook.com/Synthia20000
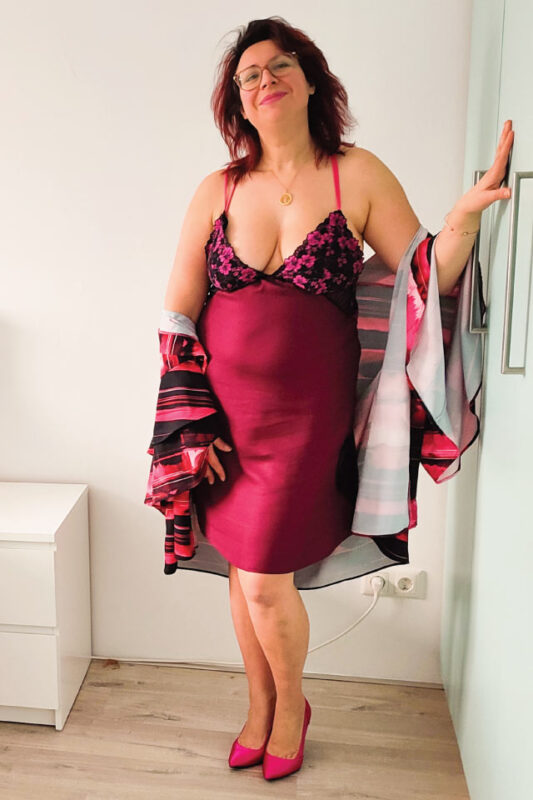
Hi everyone! Here is Marieke from the Netherlands.
Sewing the Romy set it’s just a little fun me-time to sew and it’s beautiful to wear after you finished! I think it’s important all time to feel good in what you make and just feel stunning 24 hours a day.
Unfortenately I wasn’t able to get pics from all my sets I made, but I own you these! Especially the combination with the Willow Wrap, the Marieke Robe and/ or the Barbara shorts makes it easy to expand your collection of sleeping wear (or to just wear at home over the day 😅)
For this set I used a chiffon fabric I had laying for quite some time. Since it doesn’t had any stretch I decided to cut it on bias to get the flowy look and the little stretch that is necessary.
I can imagine when buying a new pattern and look at it, it can be a little overwhelming first.
No need to worry! It’s a quick sew and my recommendation is to read the instructions first, twice when necessary.
Write down by hand what you need: fabric, supplies and the length of lace. This will give you a great overview and you’ll notice it isn’t that much to do.
Since every breast is different shaped, you might need to do personal adjustments to that. Just sew the size what is necessary and when it doesn’t fit exactly, try it on with wrong side out and start pinning away the excess of fabric. Make these changes to your pattern pieces and your final will be awesome!
As with wearing a bra you are used to tighten the straps for hold, this one will fit the nicest- and get you the v-shape at the back center- when you loosen the straps instead of tighten them.
Well, I worn it already and I am happy, and so is my husband LOL.
Have fun sewing and Happy Valentine in advance!
You can always have a look at my Instagram if you are curious about my makings: https://www.instagram.com/jongdesign
Bonjour, I’m Cynthia from Ottawa, Canada. This is my first make as a pattern tester for Designer Stitch! It was also my first time sewing lingerie, and it was so much fun to make. I made the Romy cami with the Cheeky boylegs using a flowy stretch viscose and stretch lace from Mimifabrics. In order to fit my body, the pattern was graded from size 4 to size 5 at the waist, and the equivalent of a 2.5cm dart was removed from the B-sized side cups so that they would fit well. As someone who recently gained about 20lbs, sewing the Romy has made me feel very confident in my current body! A great reminder that it’s all about clothes that fit our bodies and not the opposite 🙂
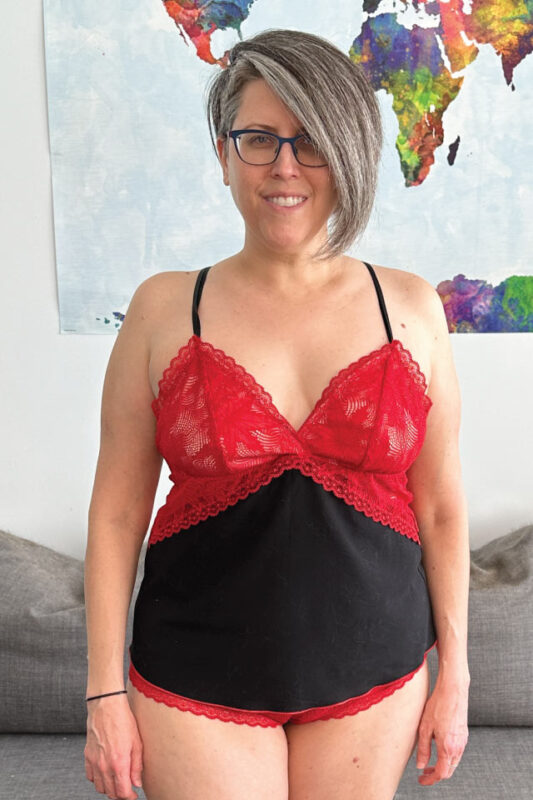
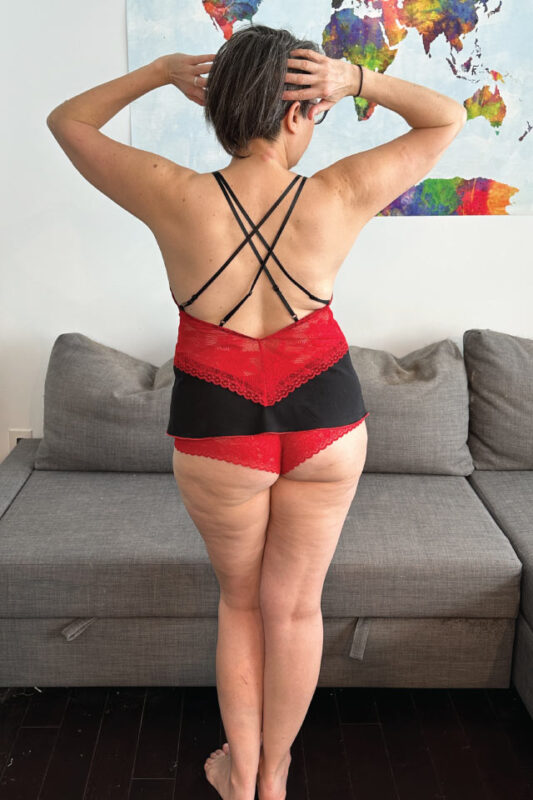
I am France L and I live in the Ottawa area in Canada.
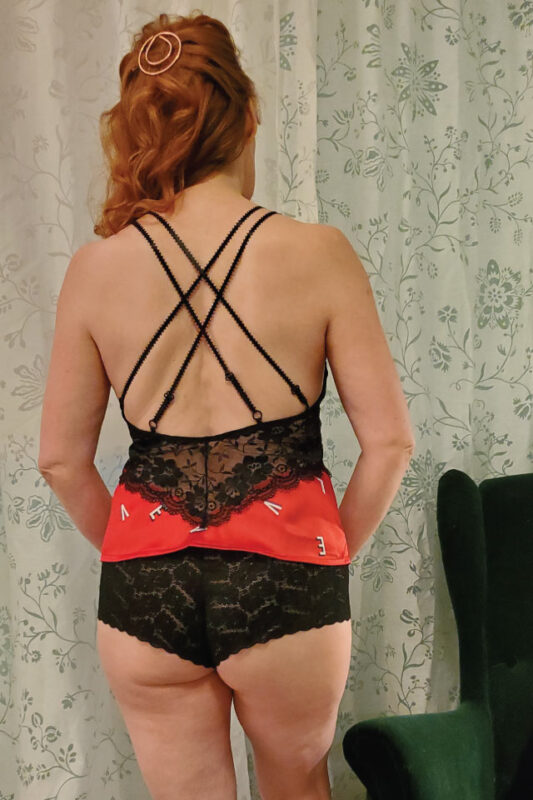
First I made the 3A Cami and Cheeky Boyleg Brief kit in vibrant red stretch satin with black lace. No alterations. The lace for the brief came from my mom’s stash and the rest from my local fabric shop, Fabricville. This pattern requires a certain width for the galloon lace and if you can’t find it, buy more and stitch it so you have the required width.
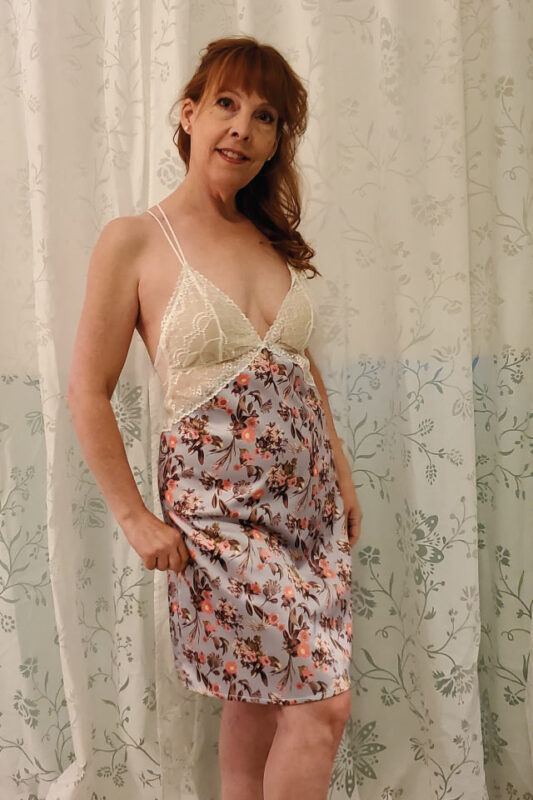
I also made the slip in 3A using a floral stretch satin from Fabricville. The lace is from StitchLoveStudio, an Etsy shop I discovered when I searched for more lace options. I was also able to get the ¼ inch strap elastic from them and some fold over elastics for additional briefs in the near future.
It was my first time sewing lace and I made sure to test my needle and tension on scraps so that I did not have to unpick…
I used wooly nylon thread in my serger loopers – and only the right needle for a narrower seam allowance – for added comfort and nicer finish on see-through sections.
Before cutting, it is worth taking the time to figure out the mirror effect you wish to create with the lace. Make sure you take into account the seam allowance in your design.
It is a simple sew but the lace and the effects you want will require some planning before cutting. Take your time it is worth it.
I have yet to wear my Romy – saving it for Valentine’s 🥰 but I did share some pictures with my partner and got lots of compliments 😉
www.instagram.com/langlois.france/

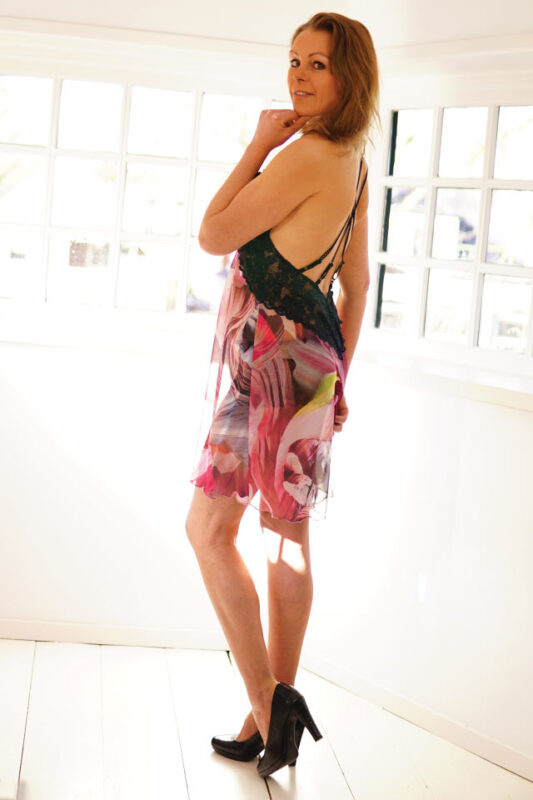
hi all Jose here., I’m sure you’ve all been WOWed with all the Romy makes! I know I am! I was very impressed by the design and the gorgeous back. 😍
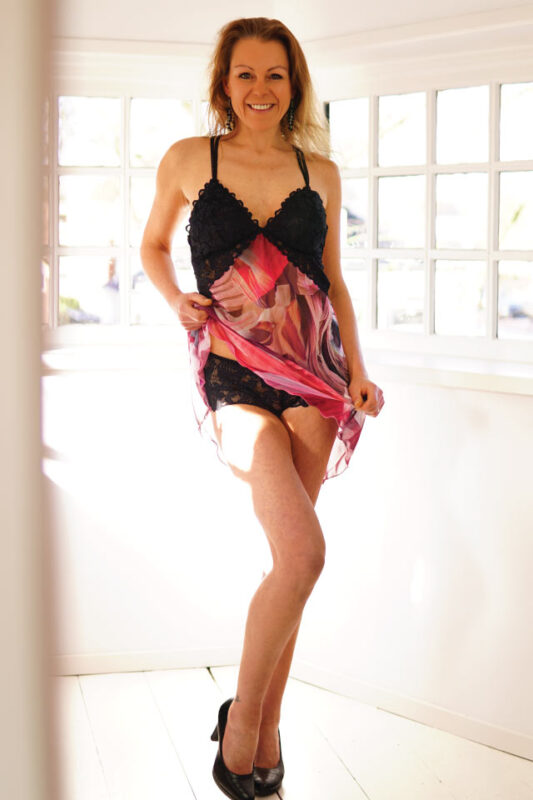
I made two, both in slipdress length. My first was in a two colored lace that I had leftover from a complete lingerie sewing set.
It paired gorgeous with my dark fuchsia Atelier Brunette viscose, but since the pattern calls for fabric with stretch, I had to think out of the box. By cutting on the bias I had just enough stretch to make the pattern work.my sewing bestie got me some gold sliders o rings and some narrow straps at Kantjeboord and I was all set.
I had to adjust my cups a bit because my volume wears different like this, but it was as easy as take in the vertical cup seam and done.
The black version I decided to make my straps myself so that’s why they are a tiny bit wider. I like it better when wearing. It’s hard to see but the black bottom fabric is a Atelier Brunette jacquard viscose, also cut on the bias to allow for more stretch. The stripey lace is leftover from an old French shopping trip. The straps are bias cut and folded in fours and sewed in one go. I’ve been wearing this dress all the nights, the fit is gorgeous and it doesn’t slide around on top even while sleeping, so no unintended flashing when stepping out of bed. Also the cups are completely lined!
I can honestly say it’s my best fitting slip dress. I used about a meter of woven fabric per slip dress, so those coupons, you know, work perfectly for this pattern!
I’m a 3D on top, 5 hips for reference.
Hope you’ll like your Romy too, I know I do!
Https://www.instagram.com/jose.vernooy
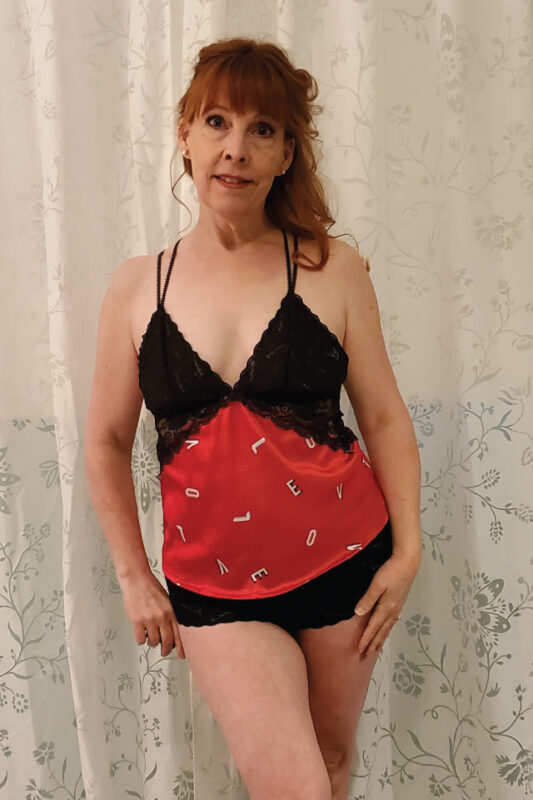
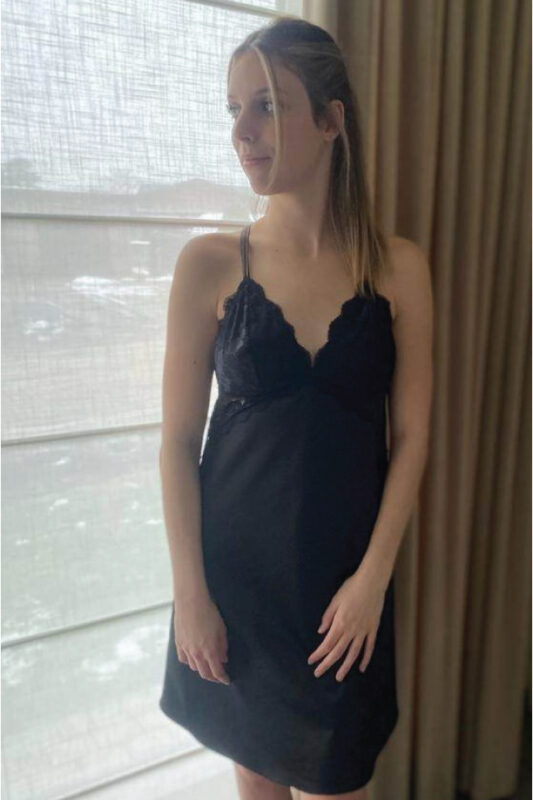
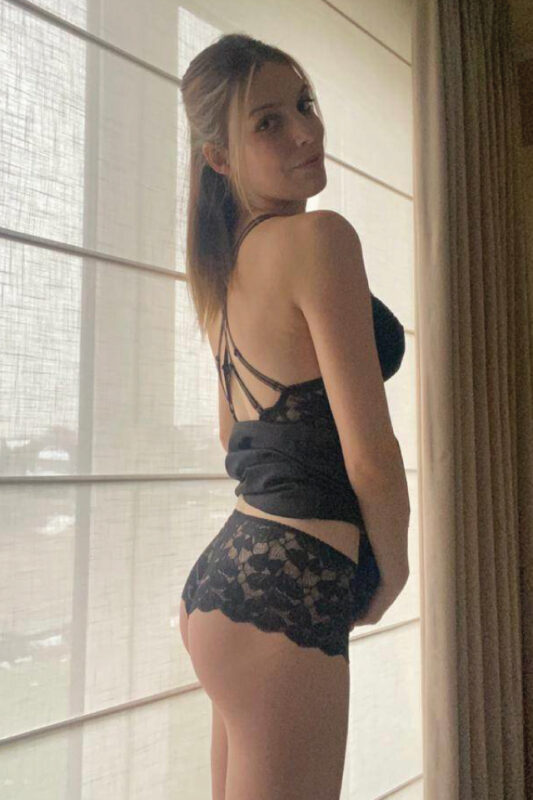
Hello! I am Luana and I live in Raleigh, NC in the US.
For both of my Romy I chose two lightweight cotton fabrics with a little bit of stretch. I had them both in my stash and they’ve been gifted to me, so I am not sure where they were purchased from.
The Romy is not a particularly hard sew, but taking my time and following the instructions closely helped a lot. Also, don’t skip any pressing steps.
I chose the slip version of the Romy for both of my versions, and I didn’t have to do any alteration, I just picked a cup less than what I would usually pick since I don’t wear a bra with it.
So far I wore my Romy only to take pictures, but my boyfriend likes them a lot!
I think if I would make another one, I might try to go a little shorter than the slip length.
My blog http://lmfcrafts.com
My Instagram https://instagram.com/lmfcrafts
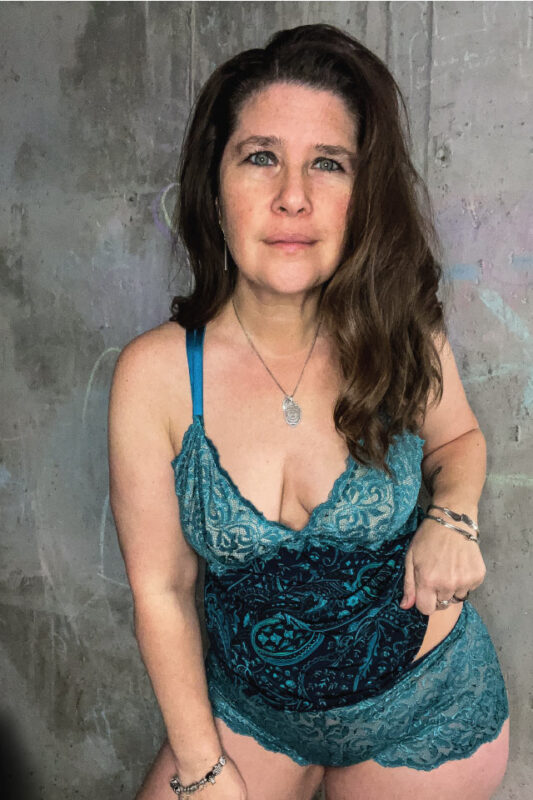

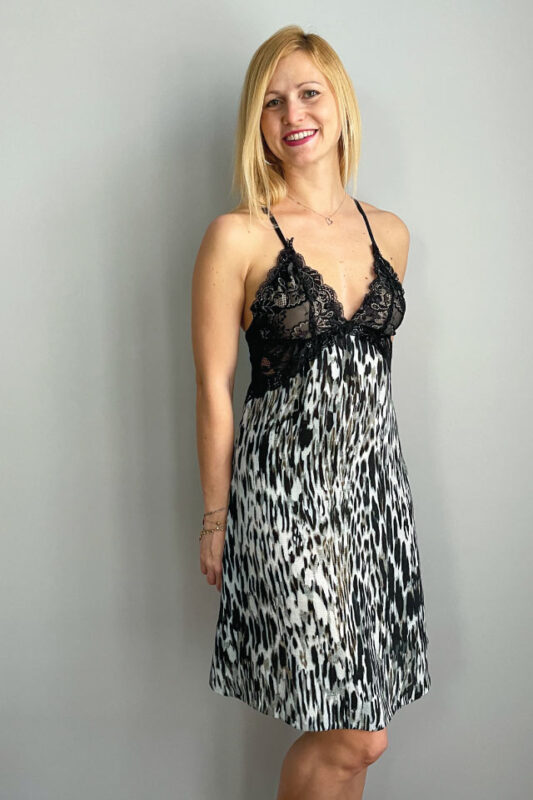
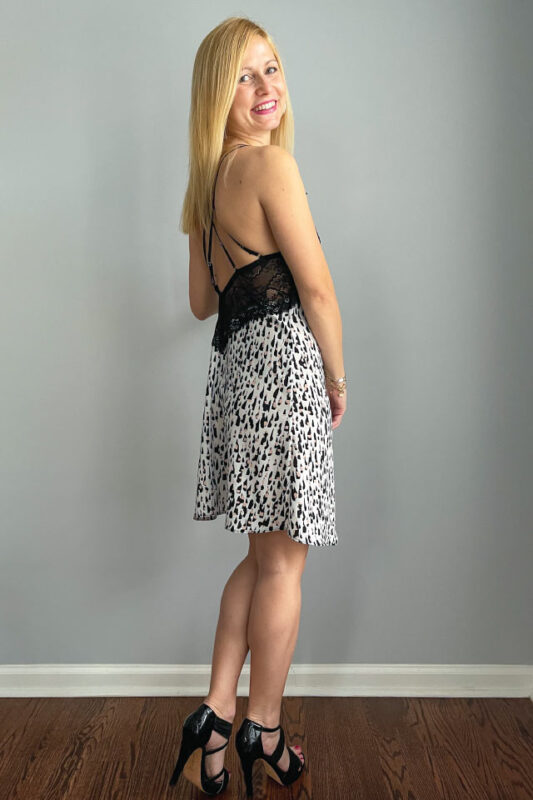
My name is Melissa. I live in the USA in ‘upstate’ NY. My Romy was made from a beautiful turquoise gallon lace and elastic (from https://www.etsy.com/shop/LaceAndTrims), nude lining (I forget where I purchased it) and this gorgeous navy and turquoise peachskin from Joanne’s Fabric. My main tips…so slow, mark your quarters to make it easier to stretch the elastic and line everything up and make sure you make a ‘toile’ first so save your favorite fabric for your finale sew…you just might need to make an adjustment just like I did. I chose the cami and briefs. I graded from a size 4 bust and waist to a size 5 hip. I also had to make an alteration to the side cup (making a dart and removing about 1” at the widest point…Ann has a tutorial to explain it). I’ve worn it at home but I am DYING to pair it with a blazer, pair of jeans and heels. I think it will be perfect! I plan on making some more camis and bottoms as sleep wear for the summer. You can follow me on
Facebook at: https://facebook.com/groups/208933612800284/;
Instagram at: https://instagram.com/leow.sews and
TikTok at: www.tiktok.com/@leowsews
Hi, I’m Myriam and I’m from Belgium. I used a stretch lace and a cotton stretch satin. I have everything from my webshop create a bra. I made the medium length version 2 cup C for my daughter, she really likes to wear it. I will definitely make it again but for myself. tips: read the entire work description carefully and make a test model for the perfect fit, especially for the cups.
Follow me on instagram https://www.instagram.com/create_a_bra/ and
Facebook https://www.facebook.com/createabra